
How I keep my photos organized while traveling Part I
*This is NOT a sponsored post but does contain affiliate links that earn me a small commission if you purchase through the link. There is no additional cost to you but it does give my small business a tiny boost! I am a Mylio Certified Consultant because I truly believe in this software!
Imagine this: you are on an epic vacation. You have with you a camera, your phone, a GoPro and family members taking photos with their phones. You have taken some gorgeous photos, but how do you view them all while on the road? You have a long flight home which would be the perfect time to weed some out and do some organizing, but how?
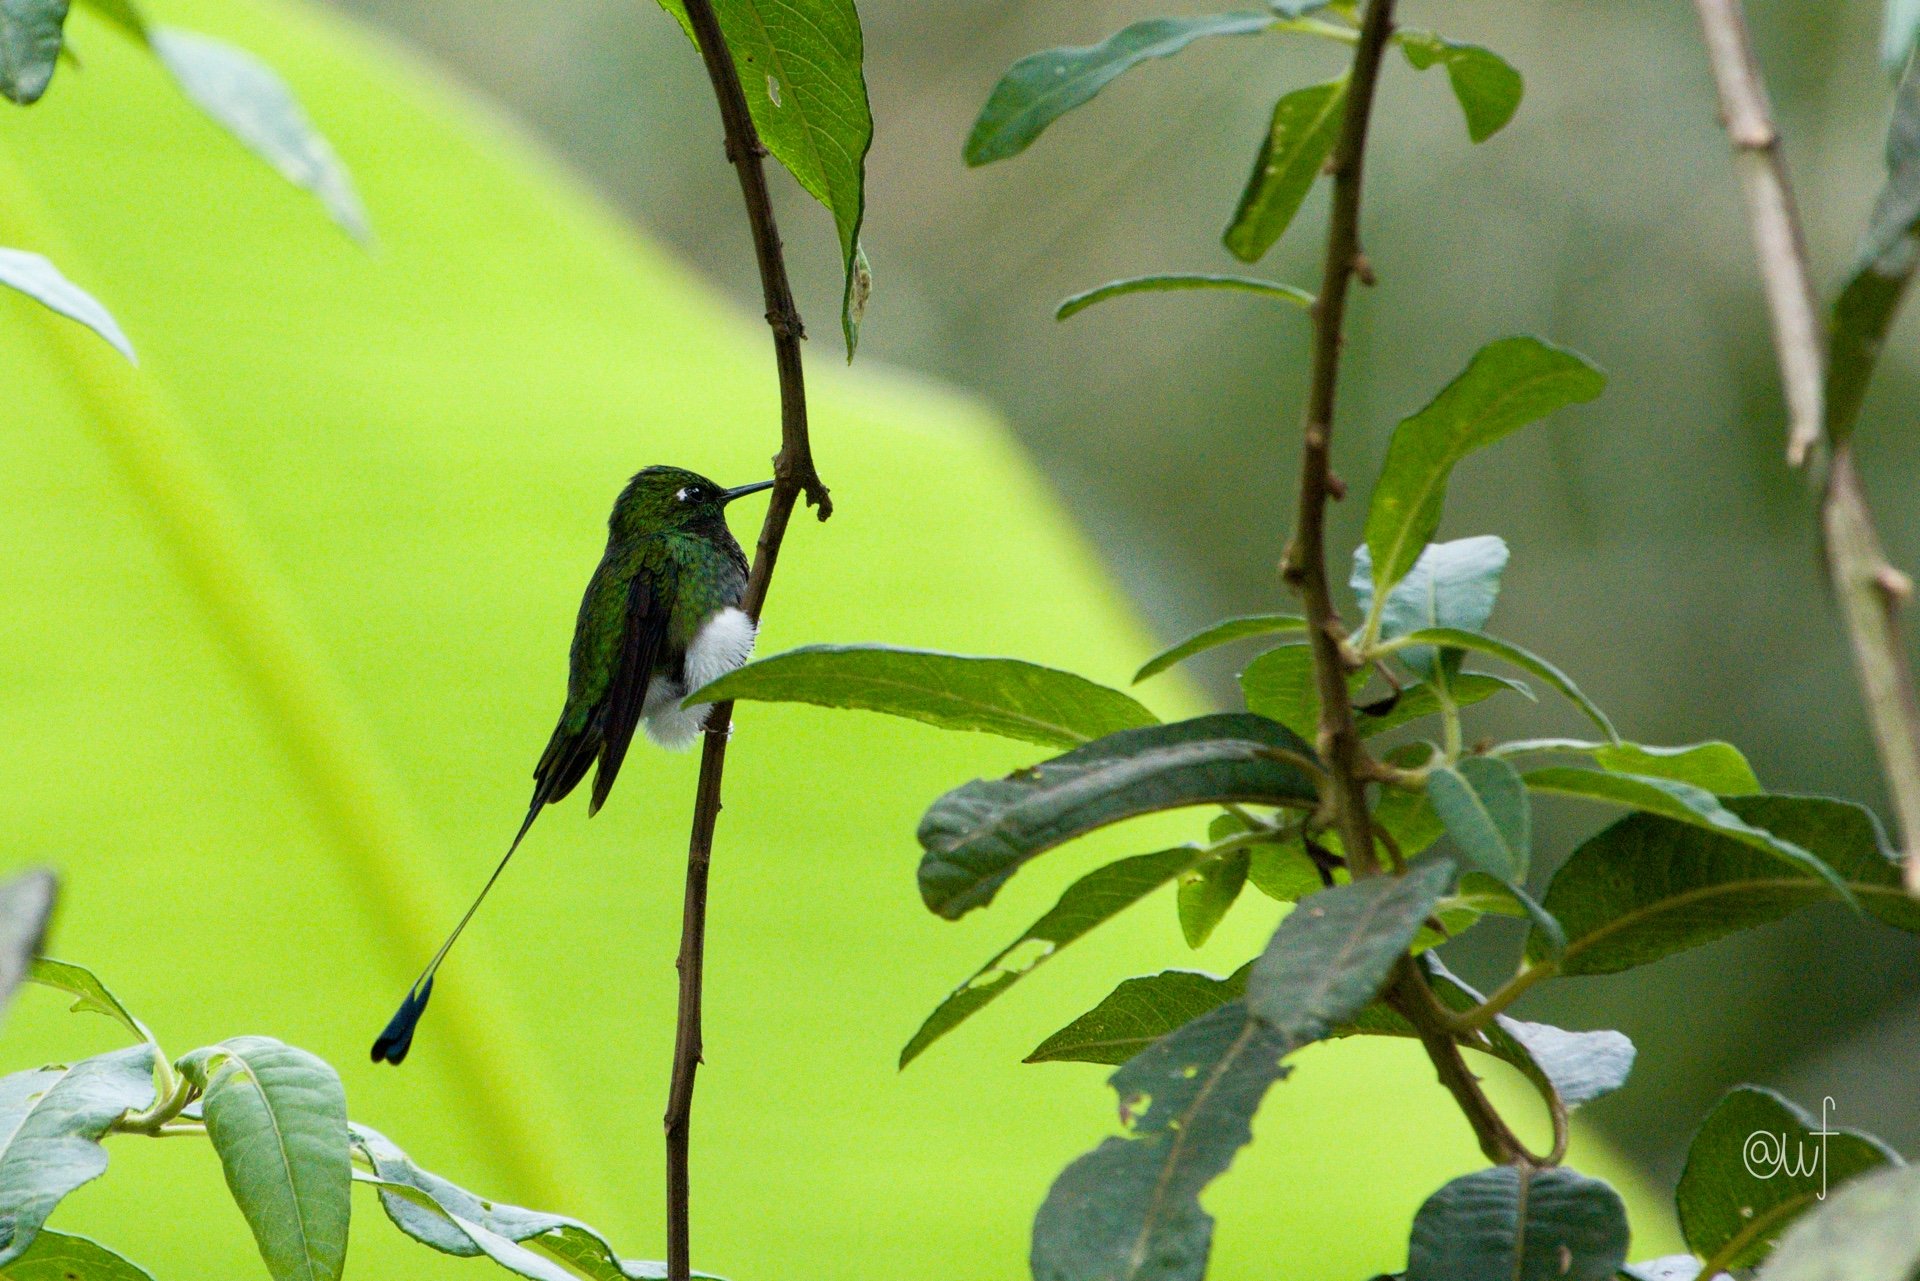
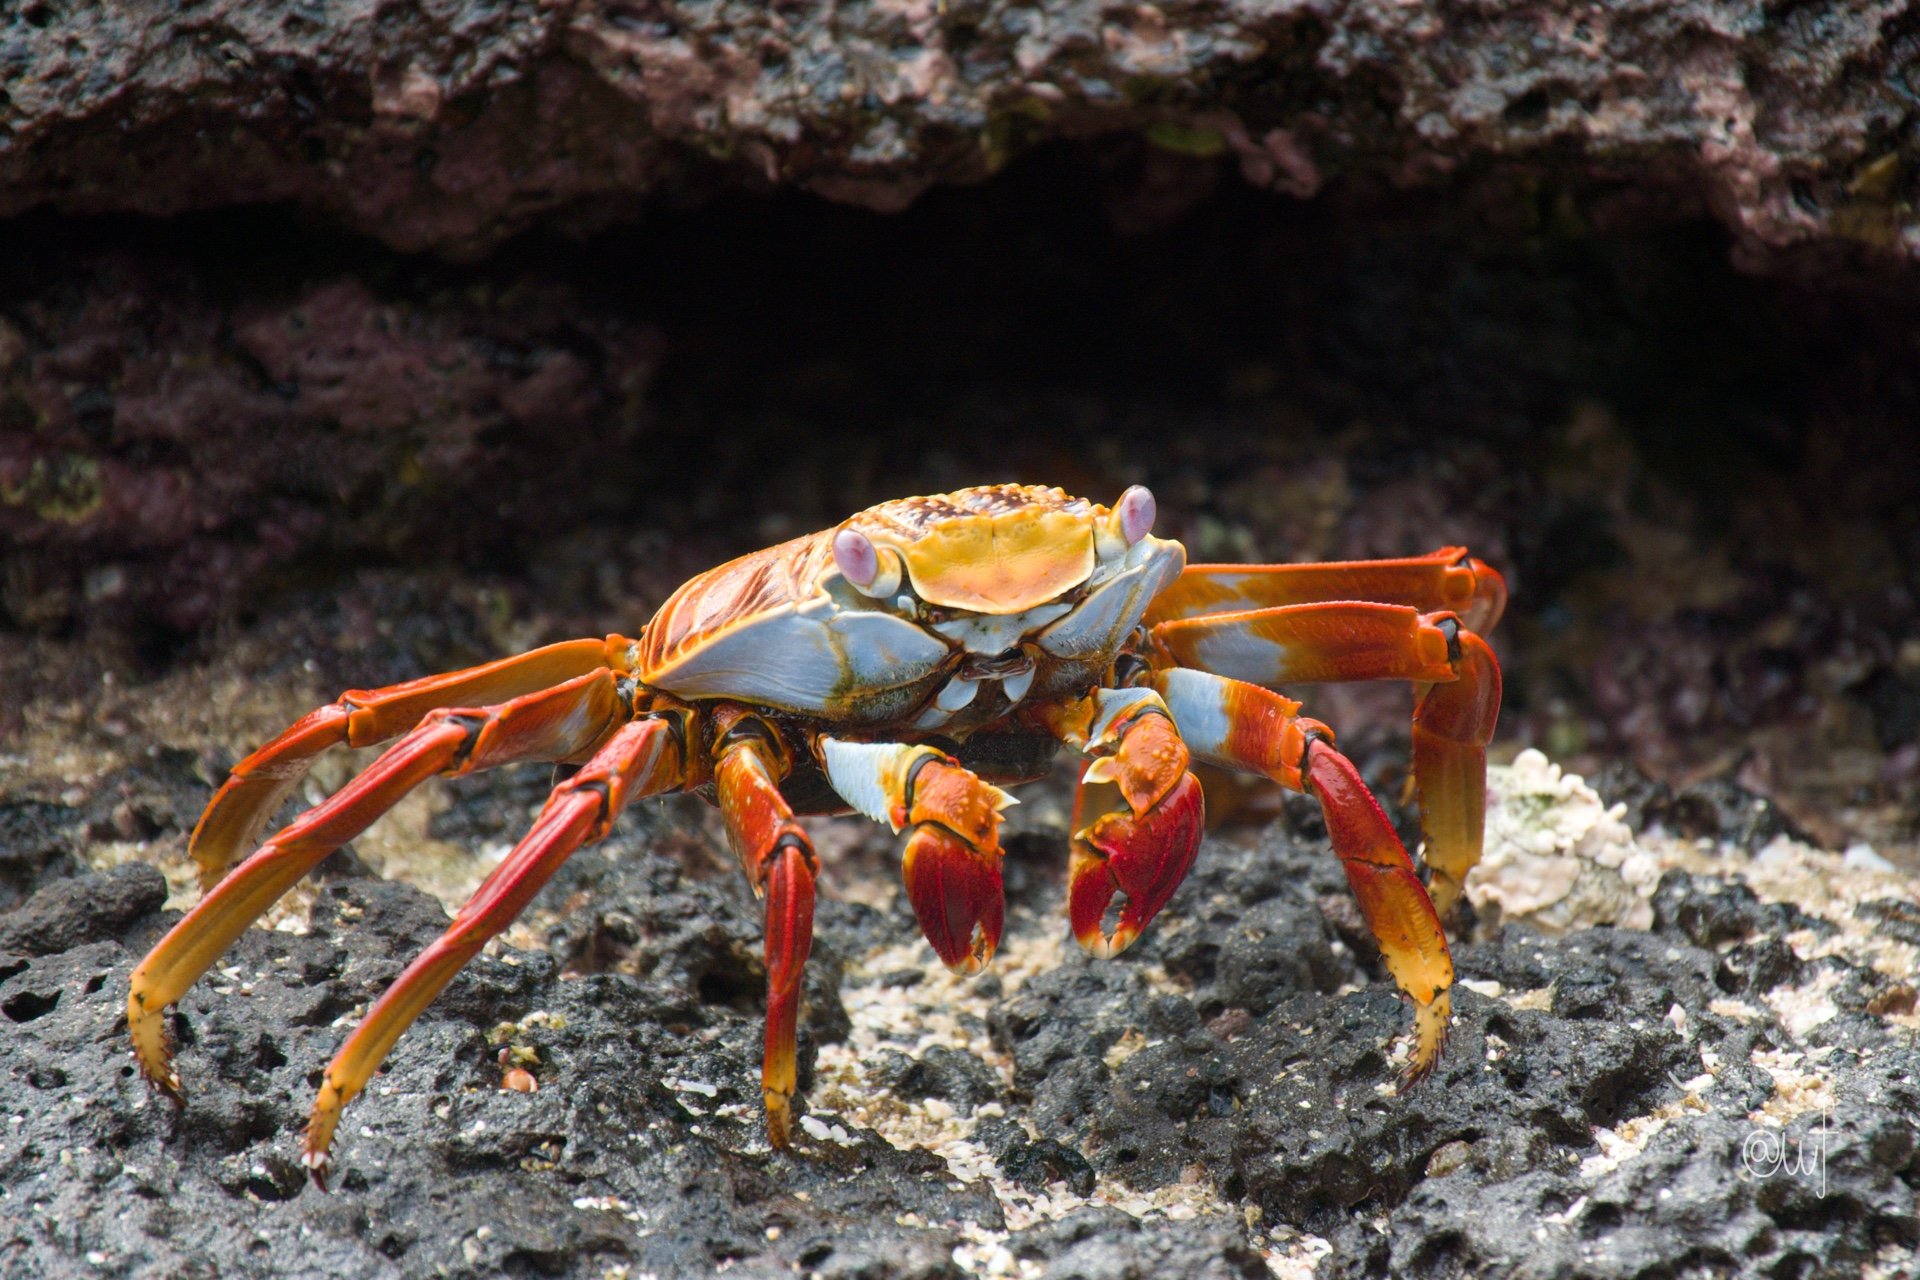
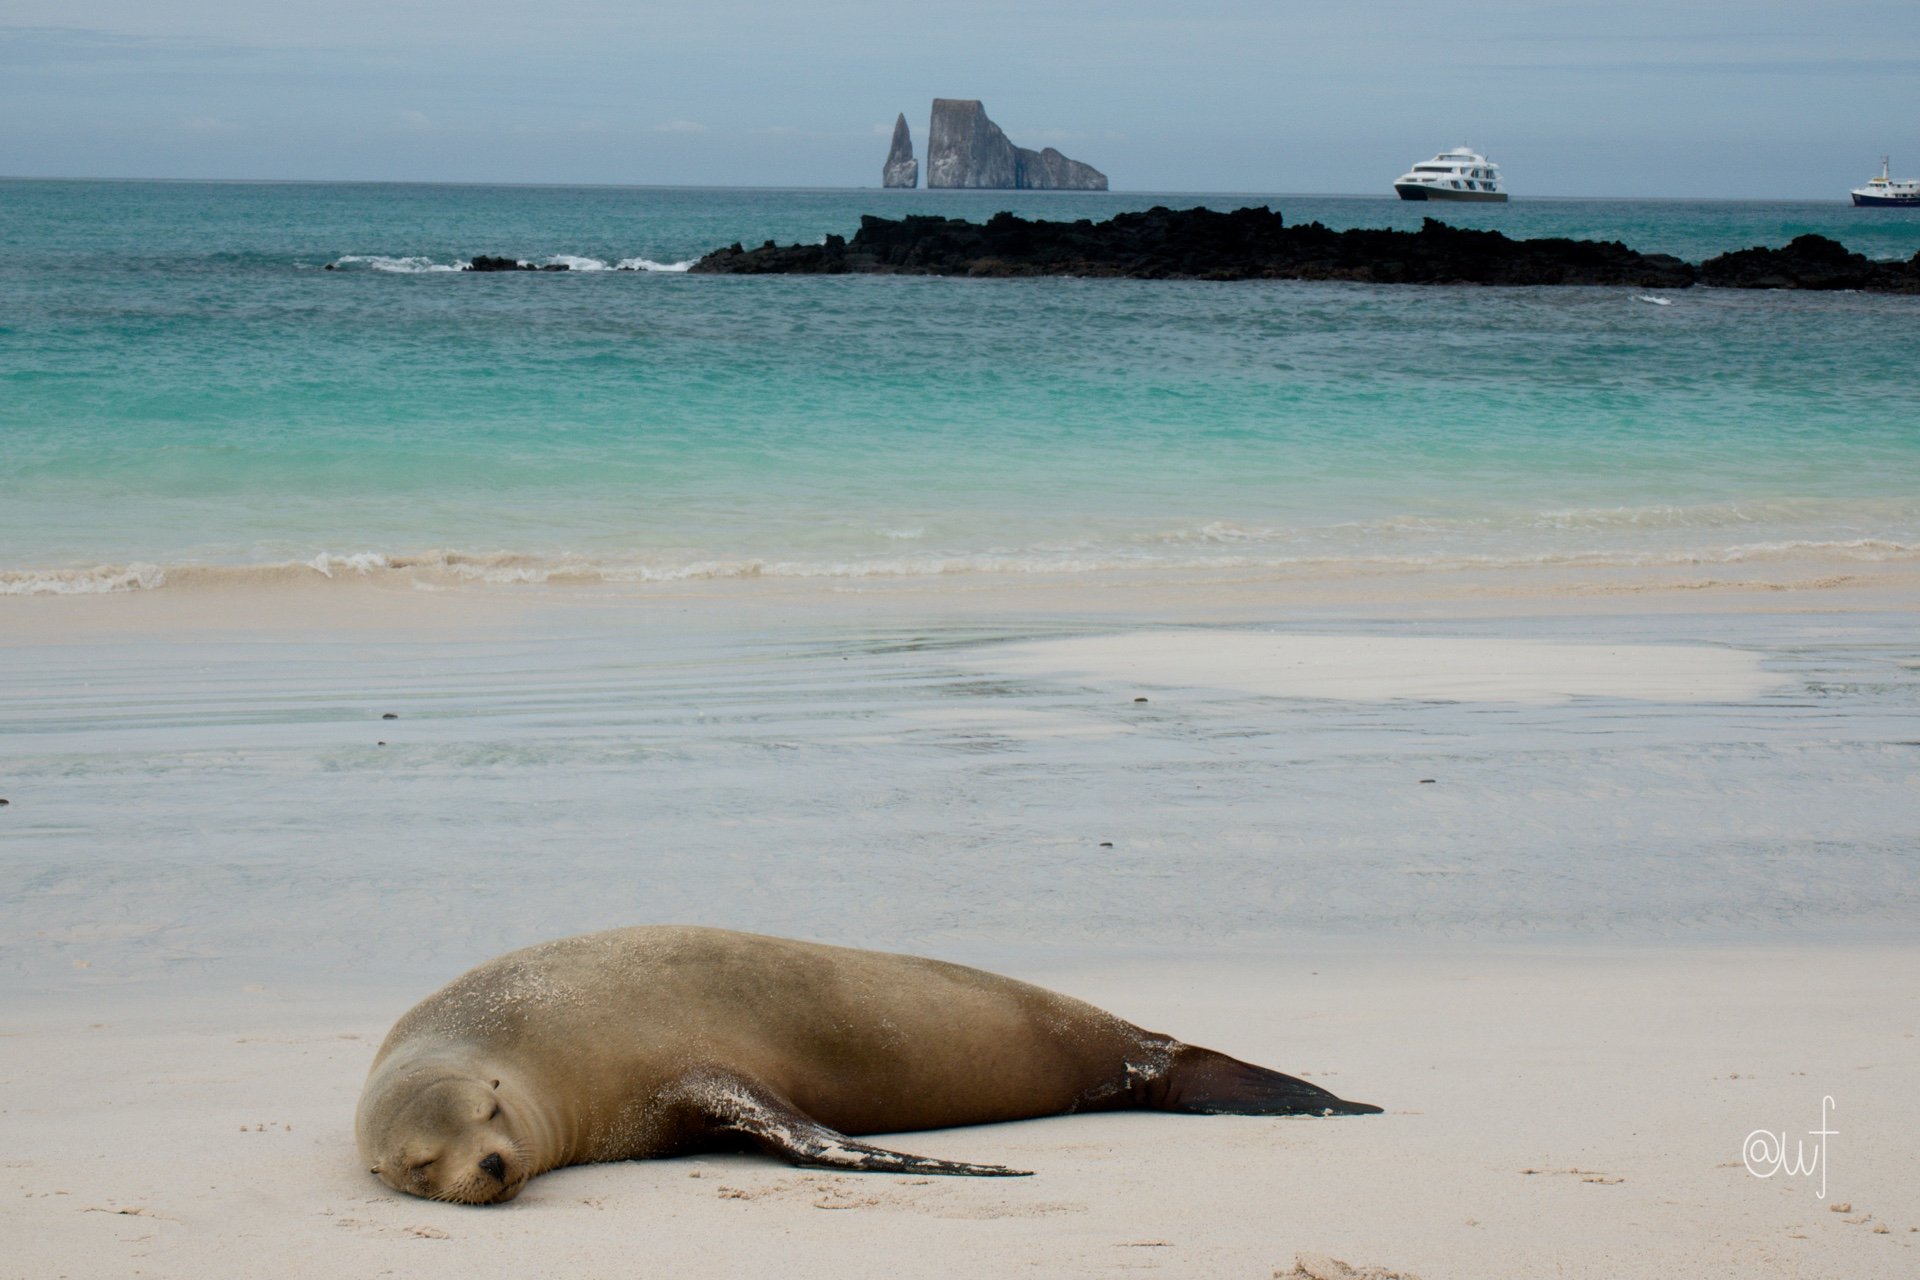
I recently took an amazing trip to Ecuador and the Galapagos (read about it here). I had with me my DSLR camera, my GoPro, my iPhone, plus my husband and two kids were also taking photos with their iPhones.

Standard. Me taking a photo while the family waits. This was in town before we got on our boat.
I am impatient, and this is something I have struggled with for years. How to backup, view, delete, and edit photos while on the road? It’s not so hard if you travel with a computer. But for years and years I had to take my computer everywhere, including vacation, so now I relish the ability to travel without one.
If you are just using a phone or two and have access to internet, this is easy. Before you leave for vacation confirm that you have enough memory on your phone for the photos you will take, confirm that your sync to whatever cloud service you use is working or set up a cloud sync. Then on vacation simply let your phone sync to the cloud while you travel, and spend a few minutes in the evening deleting photos, adding them to albums, adding captions to remember specific things about the day or photo, etc. You can also back them up to a second cloud service (highly recommend) - have an automated process to not only to pull the photos into the cloud attached to your camera roll (most often iCloud for iPhone users or Google Photos for Android users), but also copy them to something like pCloud or SmugMug to keep your photos safe and sound.
But here’s where it gets tricky - we were away with no internet. And I had multiple cameras that were not attached to the cloud. And even if they were, I had no access to the cloud.
Well this past trip I thought long and hard about how to make it work and came up with a solution. And it was awesome! Can you tell that I totally geek out about this stuff?????
My Equipment:
I brought the following on our trip:
My Sony DSLR - photos are stored on an SD card, I shoot RAW so the files are large
A GoPro (my son was the big user of this) - photos are stored on a microSD, and these files are large too!
My iPhone
A 2020 iPad Air with very little available memory and a lightening port
A 256GB USB thumb drive
An adapter like this one

It’s not your screen - my keyboard is that dirty 😂. But the view was nice from our hotel on Santa Cruz island.
Step 1: copy and backup photos from all devices to one place
In the evening, or when I had some downtime, I would work on my photos. I am not a napper, so while everyone else was snoozing after a full day of activity, I got to “work”. I use that phrase, but the reality is that I LOVE going through my vacation photos, even while I’m still on vacation. So it’s a fun task for me. And for everyone else as they like to see the best ones in real time.

This adapter can be used with a thumb drive, SD card, and miniSD card. It also has a power pass through, but it doesn’t work well.
First I copied all photos and videos from the SD and microSD cards onto the thumb drive using an adapter, and the iPad acted as a go between. When the adapter is plugged into the iPad, you can see the thumb drive and camera cards in the Files app. I simply opened the camera card, selected about 150 photos at a time, and copied them to a specific folder I had created on the thumb drive. Easy peasy, although slow as my iPad is old and doesn’t have a ton of memory. Even though I was not saving anything directly to the iPad, it still needs some memory to hold the files temporarily during copying. Note that if you have a newer iPad with enough memory, you can simply copy the photos from the SD cards directly to the iPad and cut out a step.
I left my iPhone photos where they were - I don’t take nearly as many photos on my phone so I just let that be knowing that when we did have internet again those photos would be backed up. I do usually take one at every location so that I can get the GPS location data from the iPhone. Little known fact: the phone can collect location data without cellular access. I can then copy the location over to the photos I take on my camera once I have offloaded them from the SD cards. There was a small subset of photos on my iPhone that I cared a lot about; for these I used AirDrop to send them to another family member as a backup. And my family AirDropped their good photos to me. Little known fact #2: AirDrop works without internet.
Note that I am an Apple user. You can follow this same process with Android devices as well. It will require a different method of copying the photos and videos to the thumb drive and tablet, but from there the rest is the same. Mylio works with Apple, Android and Windows devices and computers.
Step 2: bring photos into Mylio
A few months ago I blogged about Mylio. One of the primary reasons I love it is for this very use case - deleting, editing, and organizing photos while on the road and without internet. You can read why, as a photo organizer, I use Mylio here.
Before I left, I created a folder on the thumb drive just for the photos from this trip. For those of you proficient in Mylio-speak, I set up the thumb drive as a modified travel vault, to sync a quick collection for just our travel dates. If you are not proficient in Mylio-speak, this just means the thumb drive keeps a copy of the original files safe until I get home. I did not delete the files from the camera cards, so I always had the original files and a backup while traveling. After I copied all of the photos onto the thumb drive, I opened up Mylio on my iPad and bam, just like magic, I could see them all there.

Viewing and reviewing my photos in Mylio.
Because I did not have any internet, I could not add my iPhone photos to Mylio on my iPad. But I could add them to the Mylio application on my iPhone, and do the same deleting, editing and captioning on my phone. Then when I was back online, Mylio from my iPhone and Mylio from my iPad synced all of my edits together.
Step 3: deleting, rating, editing, and captioning
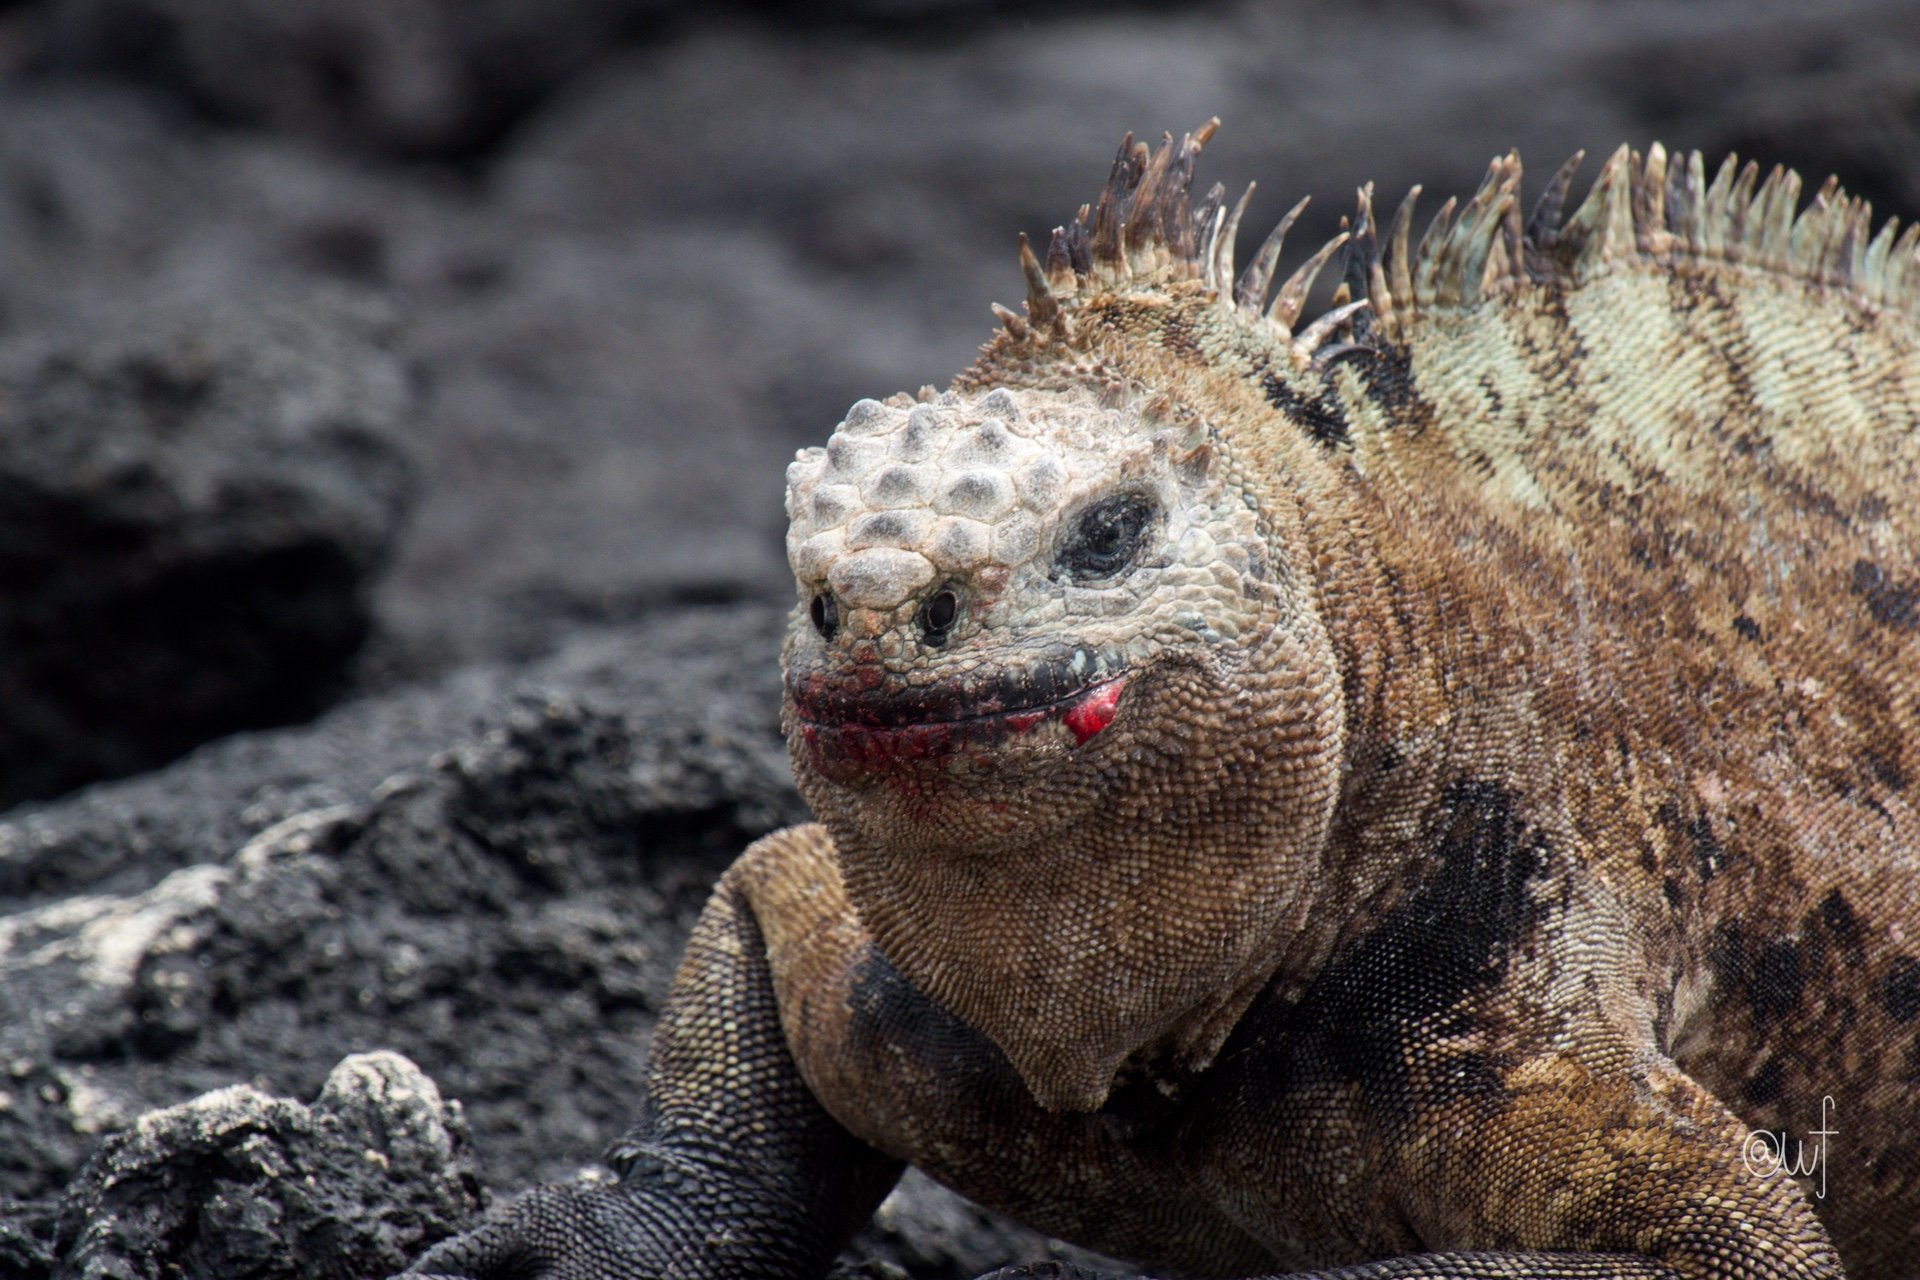
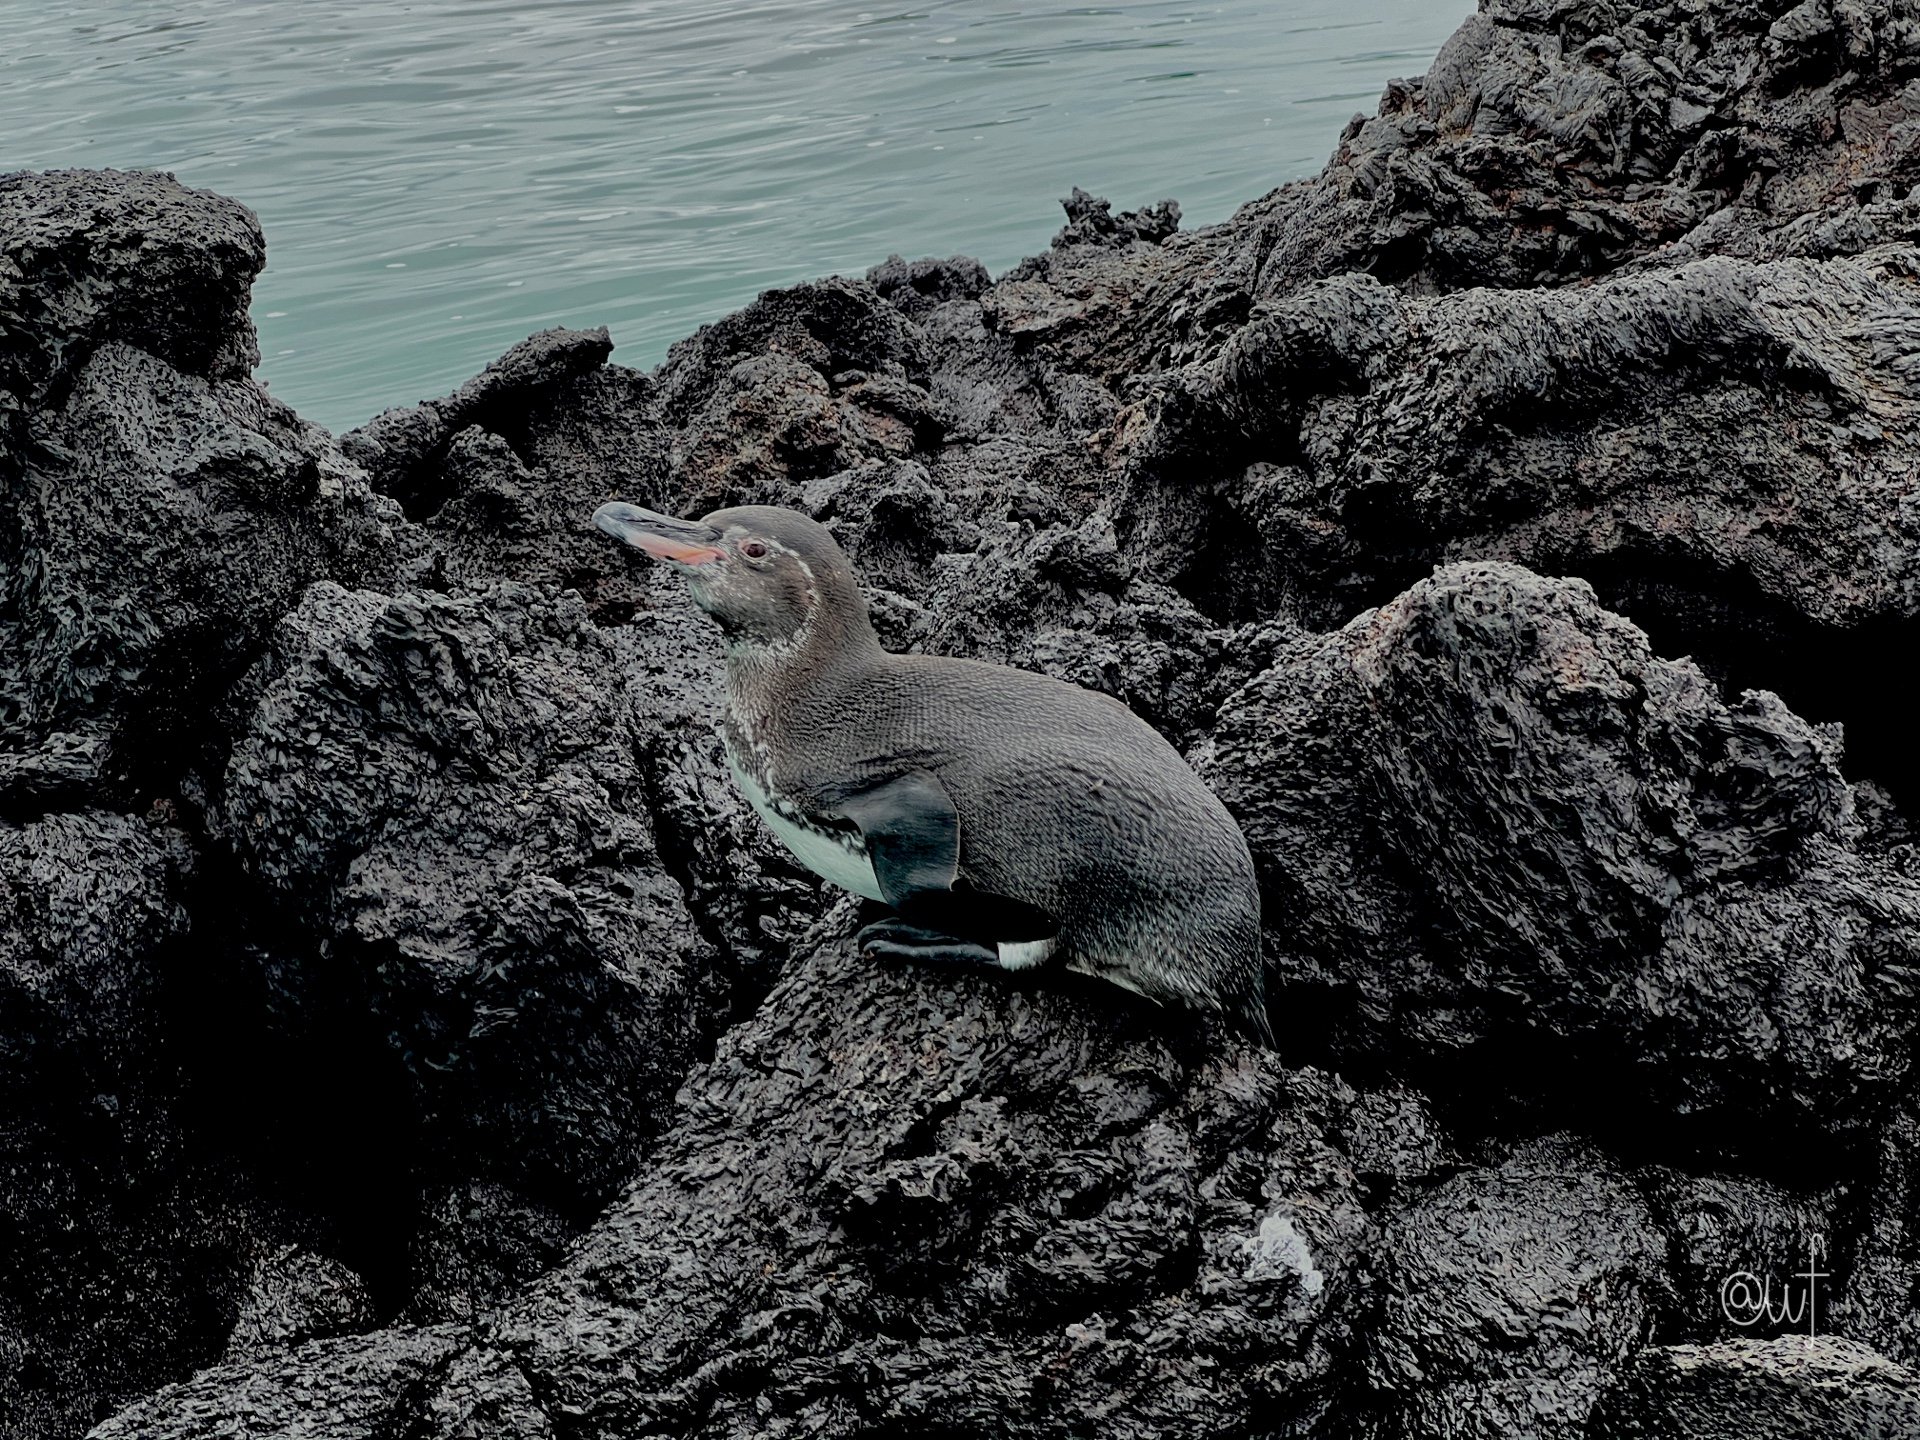
Once everything was in Mylio, I could work with my photos just like I do at home. I deleted a lot (I had my camera on burst for the first few days while we were with a birding guide in before heading to the Galapagos, which meant I had a lot of near-duplicate photos). I added captions providing commentary to some photos and star ratings to the best ones. I added keywords of the critter names. I did some facial recognition, added location data, and some basic cropping, color and other edits - all just like I would if I were home. It was so wonderful to be able to to this while I was still in the Galapagos, with our guide available to help me identify what was in my photos. We spent two days birding before heading to the Galapagos, so having the ability to identify the birds while they were fresh in my mind was key. Mylio saved all of these edits to the thumb drive. And when we were stuck in Houston for an entire day on the way home, I connected both my iPad and iPhone to wifi so that all of the photo information could sync between the two devices. The photos on my iPhone synced to my iPad and vice versa. They could also start syncing to the cloud backup I had set up via Backblaze.

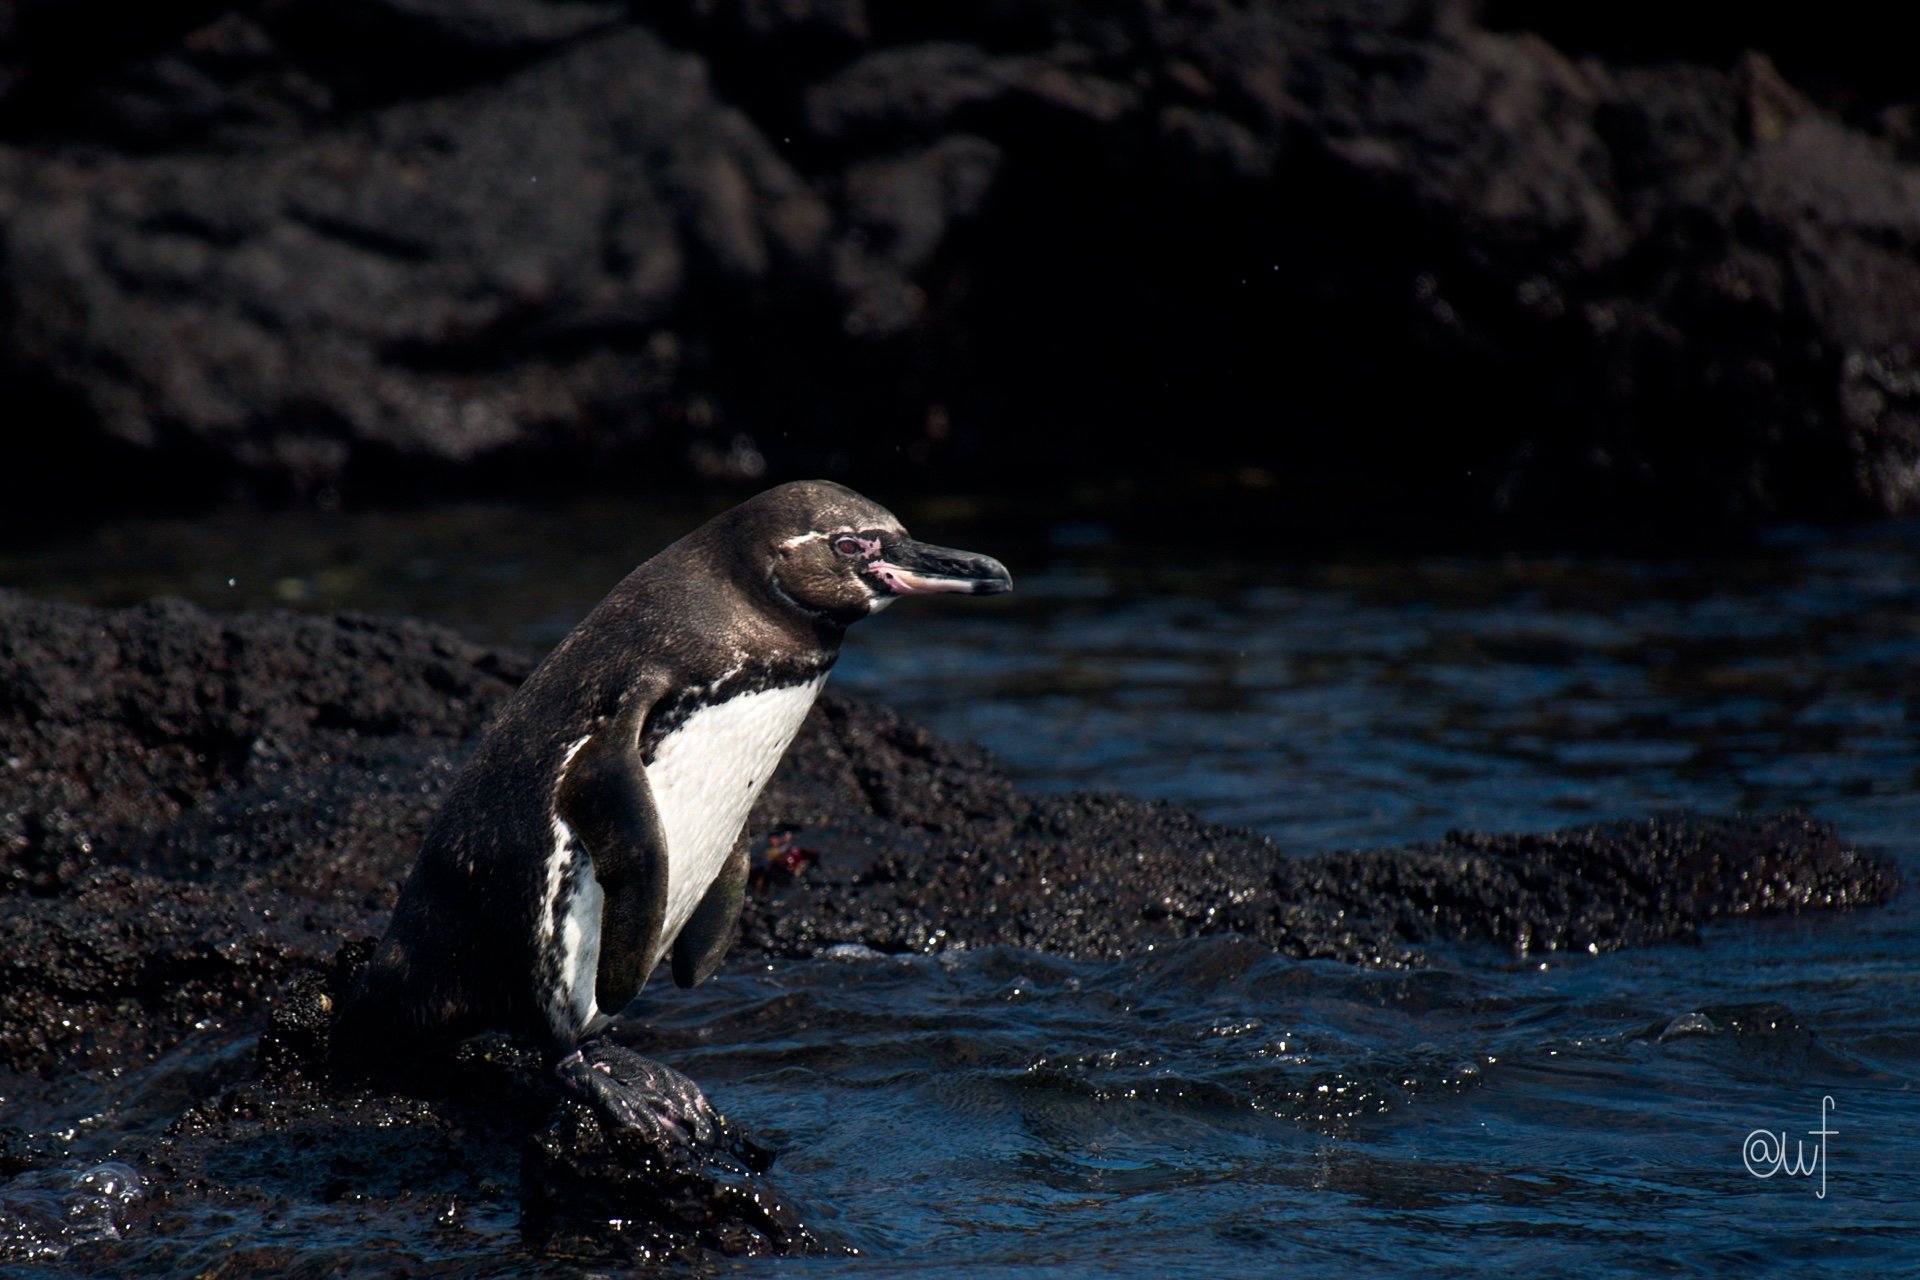
I love this sequence of photos. Usually I’m much more discriminating with my stars, but to be fair, I had already deleted many many similar photos, and I was choosing between these last few.
Step 4: syncing with the rest of my photo library
When I got home, all I had to do was plug the thumb drive into my computer and open up Mylio. Like magic, all of the photos showed up and all of the edits, ratings, captions, etc. were there. Mylio automatically created backups by copying all of the original files from the thumb drive to all of my vaults. More Mylio-speak - when using Mylio you set up “vaults” which are external drives or cloud locations where copies of the original photos are safely stored. When new files are added, Mylio automatically adds a copy of the original file to all of the vaults. I could then remove the thumb drive as a device and clear off my camera cards.
As an amateur photographer, having a system that allows me to backup and work on my photos while traveling is really important to me. In the past I would copy to a thumb drive just to have a backup, but then I had to open the photos via the thumb drive and any edits I made via a random app on my iPad were one-offs that would not sync with my library when I got home. Or I would have to copy the edited version over and delete the original. It was a pain so I rarely did it. But I loved being able to review my photos while stuck at the airport and during some of the long flights. After all it took us about 36 hours to get home from the Galapagos. And I loved being able to show our guide for his input while we were still on the boat.
Step 5: enjoying my vacation photos!
I did not completely finish with my photos before I got home, but pretty close. Within a few days of arriving home I was able to set up a gallery of my favorites and link it to my holiday card (we sent out happy new year cards this year). We arrived home on a Sunday, the gallery was ready for sharing on Tuesday. Now I just need to make the photo book! For more photos of our trip see this post.
If you’d like to try Mylio for 30 days free or dive right in with a year’s subscription at 20% off, here is a special offer for you as a reader of my blog. If you need some help importing your photos or setting it up, or are a current Mylio Photos user who wants to get the most out of the program, I can coach you through it - one on one to answer your specific questions and needs. Check out my coaching package here.
Want more on organizing while traveling? Read Part II here.