How to Handle Kids Artwork
It’s that time of year, when kids go back to school and start generating all sorts of school projects and artwork to bring home. Big and small, sparkles and all (see what I did there?). The question then becomes, what to do with it?
Your options:
Save it all.
Save some and toss the rest.
Toss it all.
There can be a certain amount of guilt with tossing these gems documenting this stage of your kids life, but there doesn’t have to be. I have a different solution for you.
If I had saved all of my boys’ stuff it would take up boxes and boxes and boxes. Instead each year, twice a year, we cleaned it out. We’d toss things like math worksheets and anything with glitter, then put in a pile things that we might want to keep such as the stories they wrote and some of the artwork.
Initially this “might want to keep pile” can be quite large. But here’s the beautiful thing - you can archive this pile with your phone, add these things to your photo library, and thereby keep them forever without taking up much space. After they are archived, look at the pile again and decide what to actually keep, and file it away in a dedicated box for each child. We actually have an old-fashioned filing cabinet and each kid has a drawer. Within the drawer are file folders for each year. I can guarantee you that after you photograph the items, it will be easier to make decisions about what to toss. Now that my boys are in college, on my to-do list is actually to revisit the “keepers” and decide if I still really want them. All are already digitized and in my photo library.
How to photograph kids artwork for safe keeping
Here are a few tips to help you take better photographs of your kids artwork and school projects.
Organize it first. Put like size items together to speed up the process. Our stuff ranged from super huge to tiny little cards, pinch pots, and other three-dimensional items. It’s easier to photograph these by doing all of the papers together, all of the oversize papers together, and the three-dimensional items together. This is also key in deciding what to keep - you can see all those math worksheets and stories for english together and it will help you cull out the many assignments that are similar.
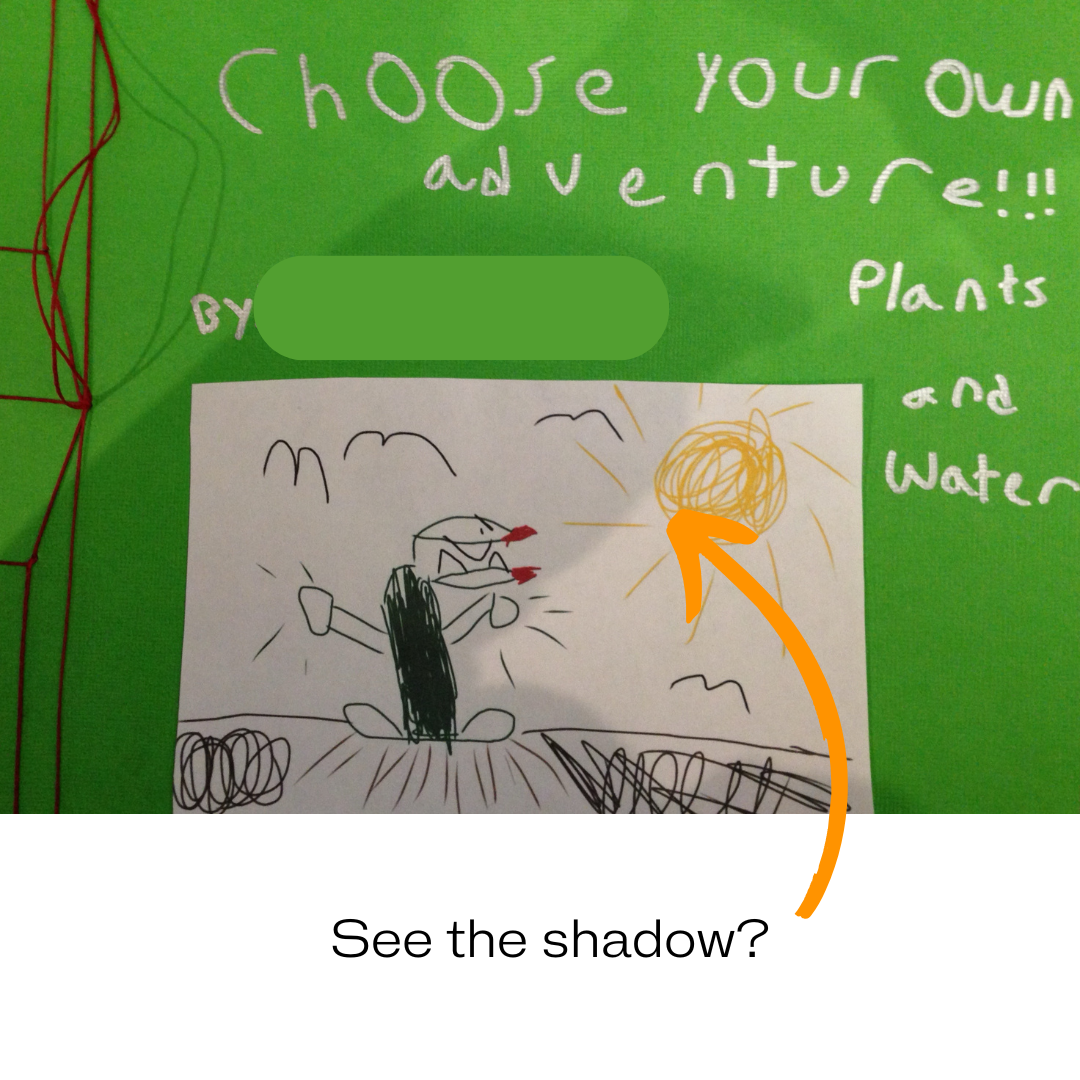
Watch out for shadows. Often if you aren’t careful, taking photos of papers and things inside will result in your shadow covering part of the photo. Find a place with some natural light and check the angles to avoid the shadows.
Line up the grid lines while taking to photo so that the camera is level.
This is one of my favorites - my son created this book for the Young Authors project they did every year in elementary school. But see the shadow of the phone? Make sure you check the photos before you get too far into the process and reposition as needed. I wish I had read a blog like this before I took this photo in 2014 😉.
Storing digital files of your kids’ artwork
Now that you have the digital files, in your photo organization software of choice create an album for each child such as Joey’s artwork and put it all in there. If you do this once or twice a year the datestamp on the photo will tell you what year the artwork is from. Even better, or if you are catching up, create sub-albums for each year or grade and put the files in the sub-albums so you’ll always know what grade or year the art and school projects are from.
This organization will allow you to easily find these items later. So when your kids are older like mine, you can pull them out and have a good laugh!
One last tip: you may know what the art and drawings represent at the time they are brought home, but you may forget later. Add a caption describing the art right to the digital file in your photo organizing software.
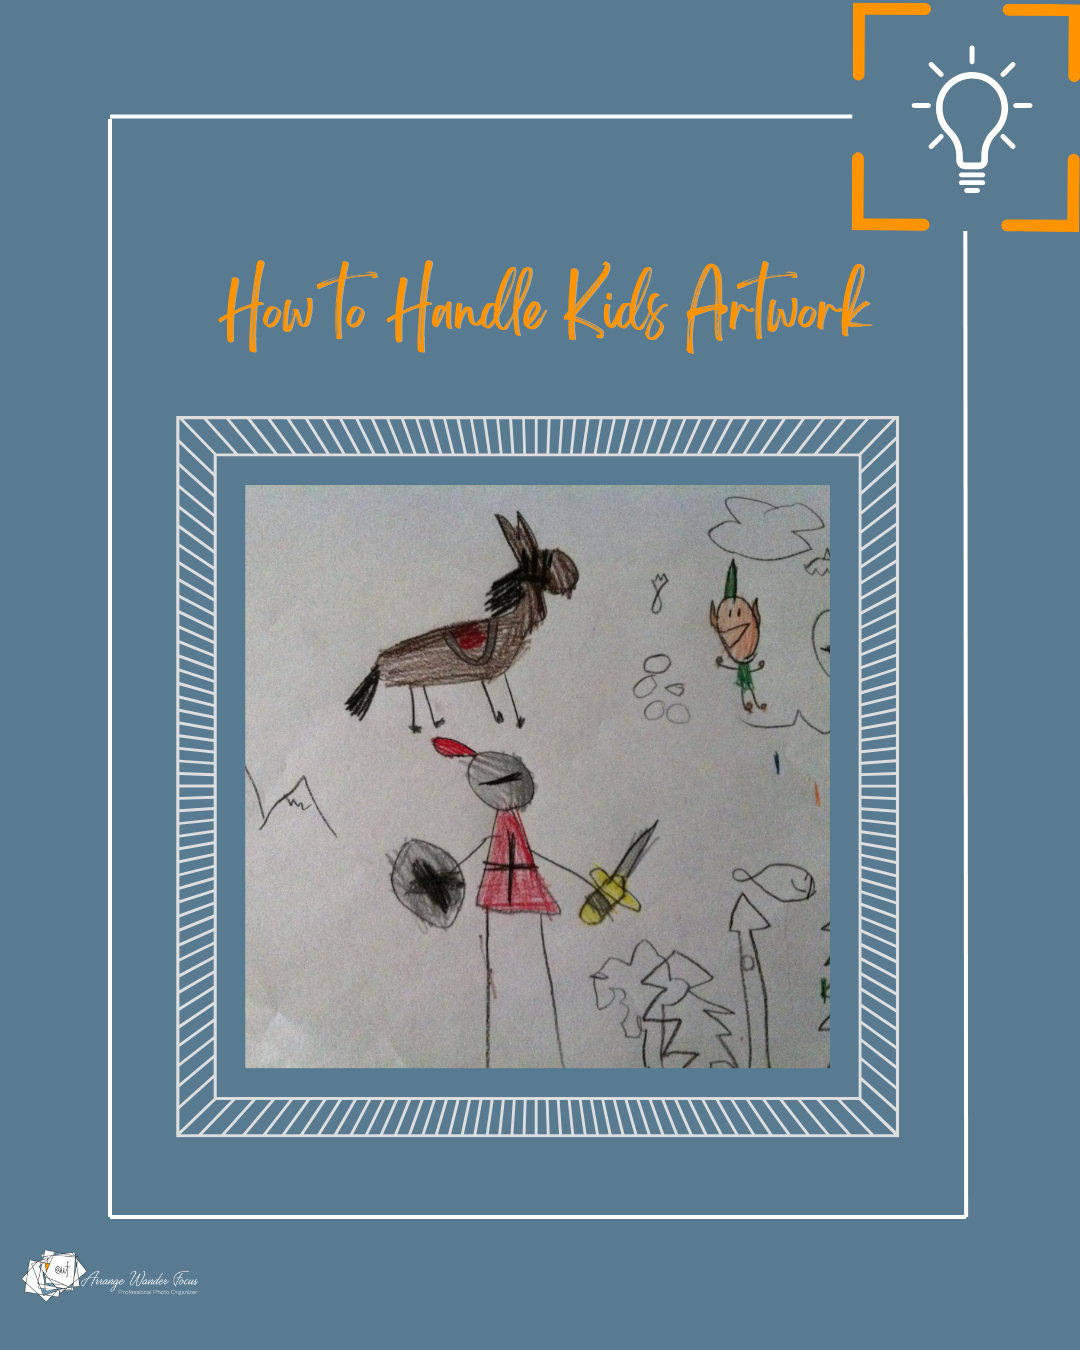
We are still not entirely sure what this masterpiece is.
If you can do this once a month, twice a year, once a year, I promise that it will be worth it later on down the road when your kids are grown and flown. And it really doesn’t take too long.


