
Summer Travel Photo Tips
As summer begins my mind turns to travel. To be fair, my mind is always on travel, but more so in the summer when the kids are out of school and the weather is nice. Generally speaking more people take photos while traveling than they do in their day to day lives, so it’s important to get these organized.
Top photo organizing tips for travel
Photo Travel Tip 1: create an album on your phone before you leave home for itinerary documents
When I am planning for a trip I often have snapshots of our itinerary, tickets, restaurants to try, sites to see, ideas from social media or friends. I create an album for these on my phone so that I have them all in one spot. If you have been collecting these over time they can be hard to find in your camera roll. Did you book any tickets that require a QR code to get in? Take a screenshot and add it to this album so you can find it easily. Bonus - if you are in a place with sketchy internet you don’t need internet to pull it up from your camera roll.
Photo Travel Tip 2: create an album on your phone before you leave for each of your destinations
If your phone is your primary camera, create an album or albums before you leave home where you can put your travel photos. If you are going to multiple locations, create more than one - one for each destination. Better yet, create a folder with subalbums. The first subalbum is from Tip 1, the documents. Then albums for each location. If you are doing a special activity you may want an album for that. Albums do not take up any room but are so helpful for subdividing your never ending camera roll.
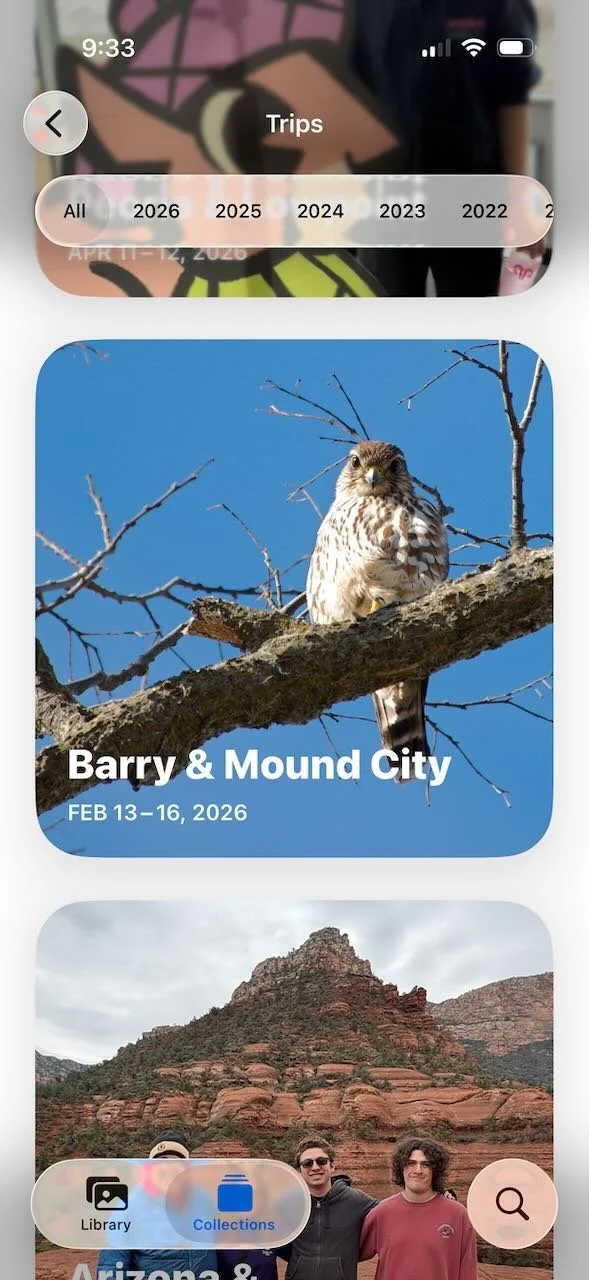
Apple’s curated trips collections would be much better if we could rename them. This one completely missed the mark.
Albums can be permanent or temporary. You don’t need to keep them later, I often create albums for projects then delete the album when I’m done. Deleting an album does not delete the photos within it.
Note that the newer ios’s of Apple Photos may automatically create a collection of your trip under “Trips”. I’ve found this works decently well but is not always correct, particularly for the days at the beginning and end of the trip. Apple also may not title the trip correctly, and you cannot change the name which bugs me to no end - I don’t want to see an album called “Barry & Mound City” when I was at Loess Bluffs. It took me a minute to even figure out what Barry and Mound City were. But you can select all of the photos in the trip collection and create your own properly named album.
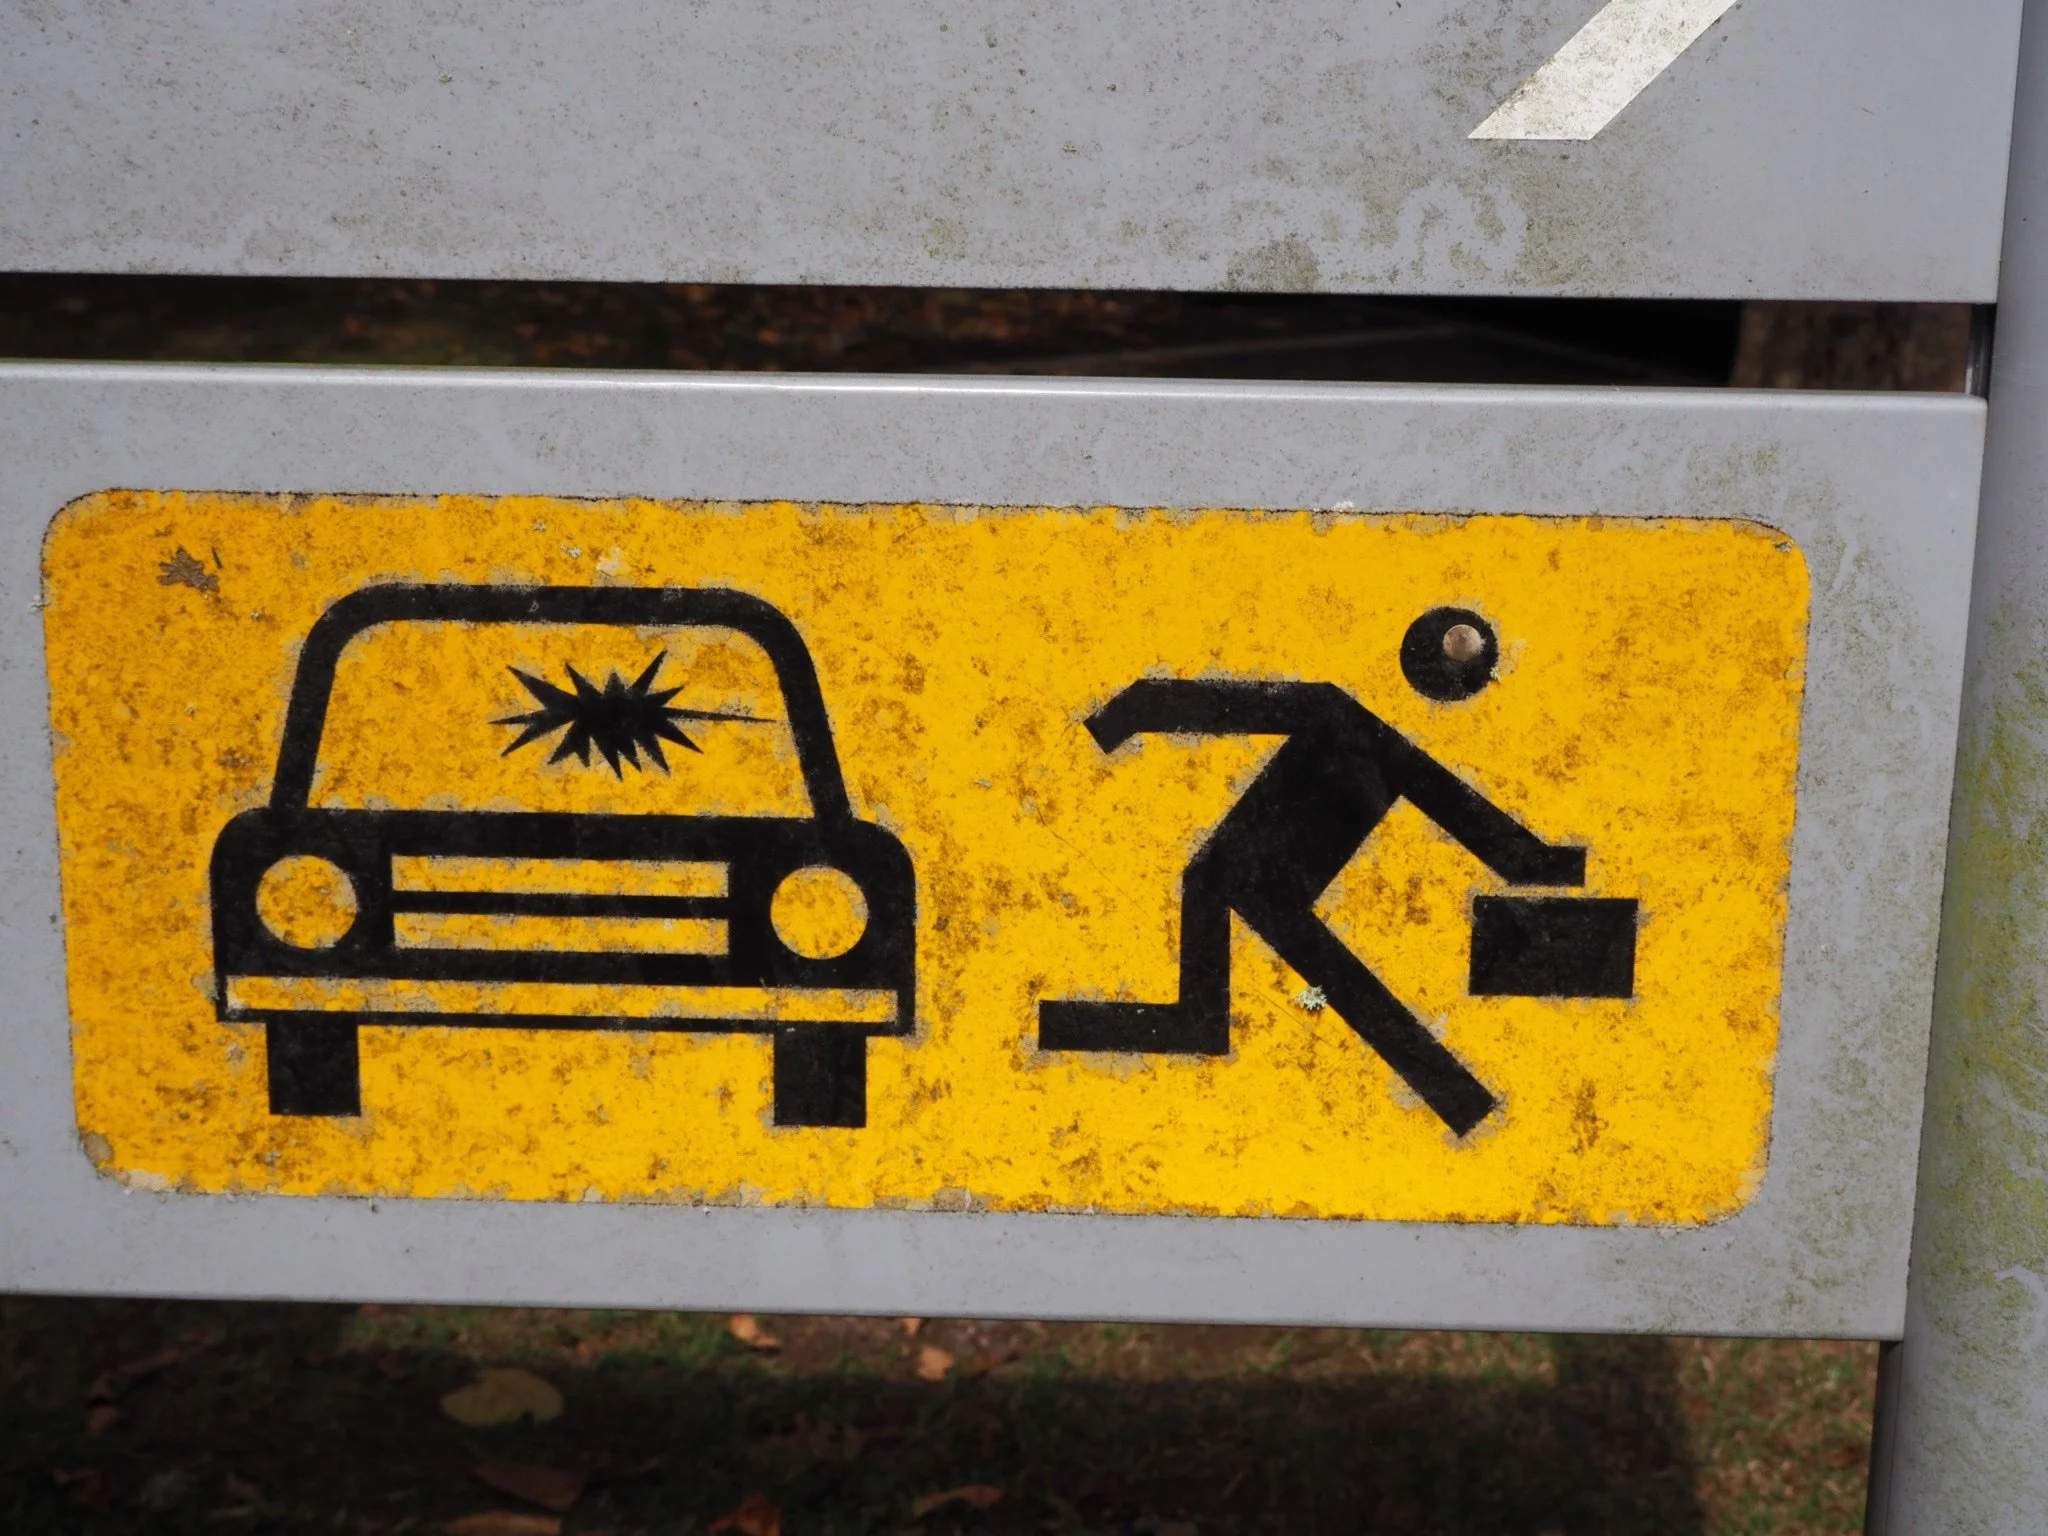
Photo Travel Tip 3: take photos of signs and other location indicators
I’m not sure when I started taking photos of signs, but I’ve been doing it forever. It started as a way to identify where we were before I had GPS available. I also just like them and we tend to “collect” the funny ones. Ireland was particularly great for amusing signs! Now that my phone has location data, it’s less important for figuring out where a photo was taken, but they are still super useful. If you have hundreds or thousands of photos on your camera roll, even if they are in an album, the sign photos help visually demarcate the location of your next set of photos.

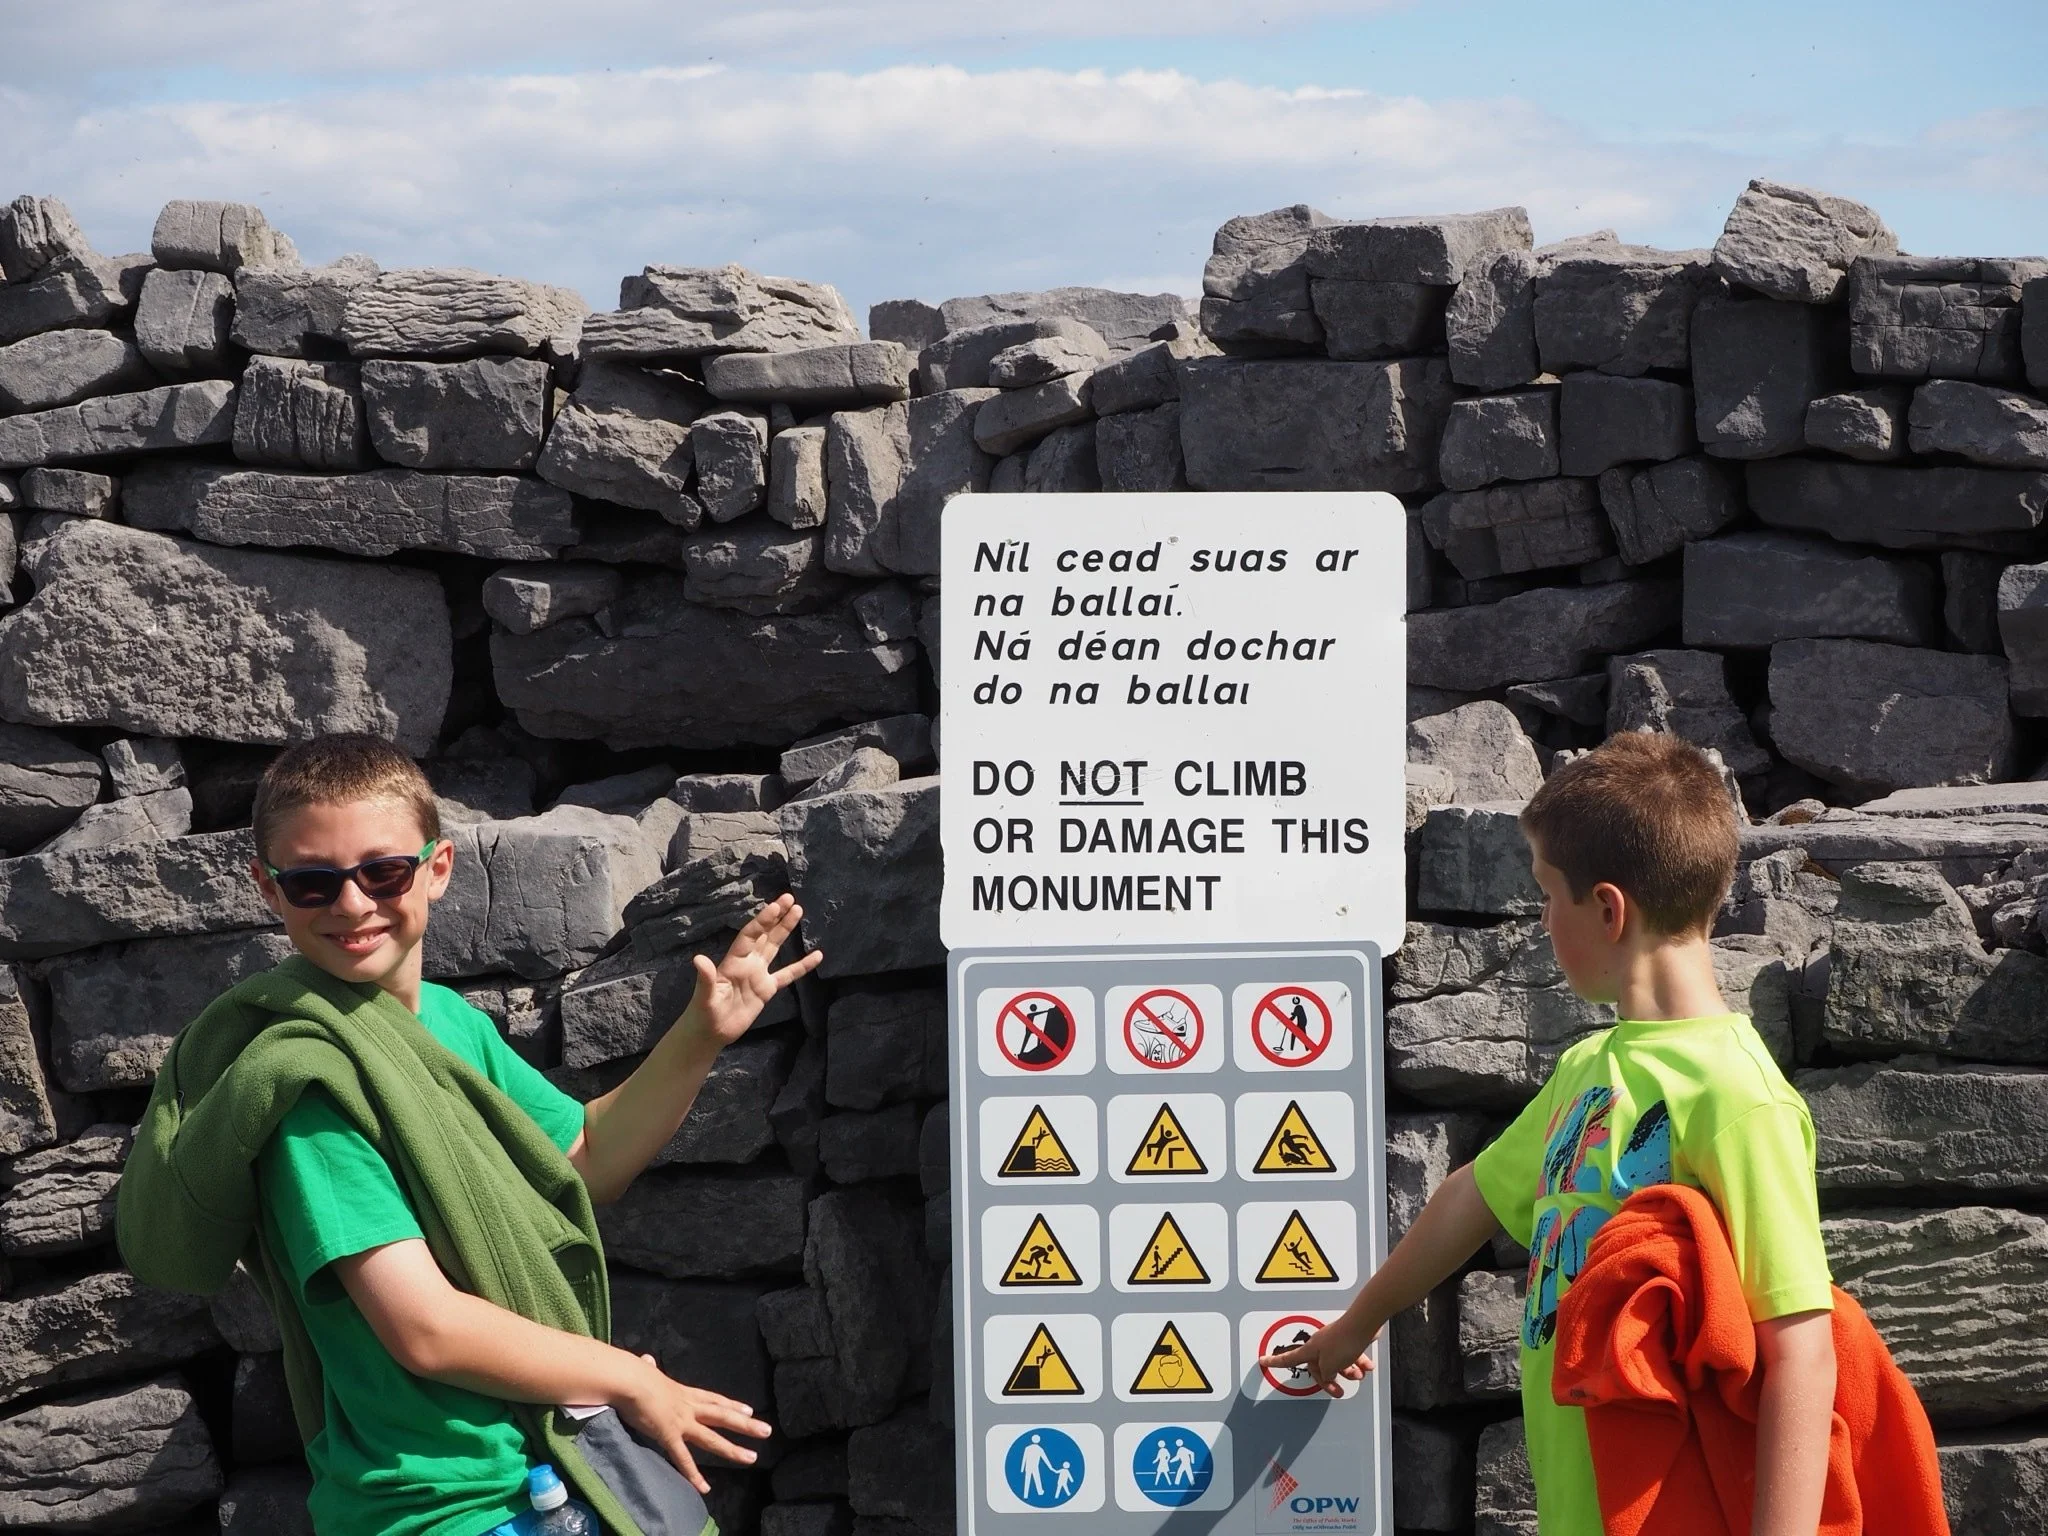
Some of our favorite signs from Ireland.
Photo Travel Tip 4: heart your favorite photos as you go along
As you travel, take a few seconds to heart your favorite photos. If you think, “I need to send this to my family” then it’s likely a favorite, so mark it. If you take 5 of the same photo, favorite the one you choose to send to the folks back home. Then later when you are back home and reviewing the photos, or contemplating making a book, or sharing a wider swath on social media or elsewhere, you will already have the photos you want to share marked and you won’t need to review them again. And you can go ahead and delete photos similar to the ones that you hearted.
Photo Travel Tip 5: review group photos right away and favorite the best one
Another variation on tip 4, if you hand your phone to someone to take a group shot they will likely take 10 of them. Look at them right away, choose your favorite and either mark it or delete the rest. Unless you have small children, this should be fairly easy as they will all look the same. You don’t need them all and it will save you time later. If you have small children it may take you a bit longer as their expressions may change from photo to photo.
Photo Travel Tip 6: create a shot list
If you are one that takes a lot of photos while traveling, and getting specific photos is important to you, create a “shot list” before you go. Similar to a wedding where you want to make sure you get photos of different groups of people, if there are places you are visiting where you know you want certain photos, make a list so you don’t forget. This tip doesn’t apply to everyone, but you’ll know if it applies to you.
When we went to Mesa Verde last winter there were a few photos that I knew I wanted to take because I had taken the same photos there when I visited in the 1990s. As it turned out, some of those places are now closed to the public, but it was interesting to compare the others for a “that was then, this is now”.
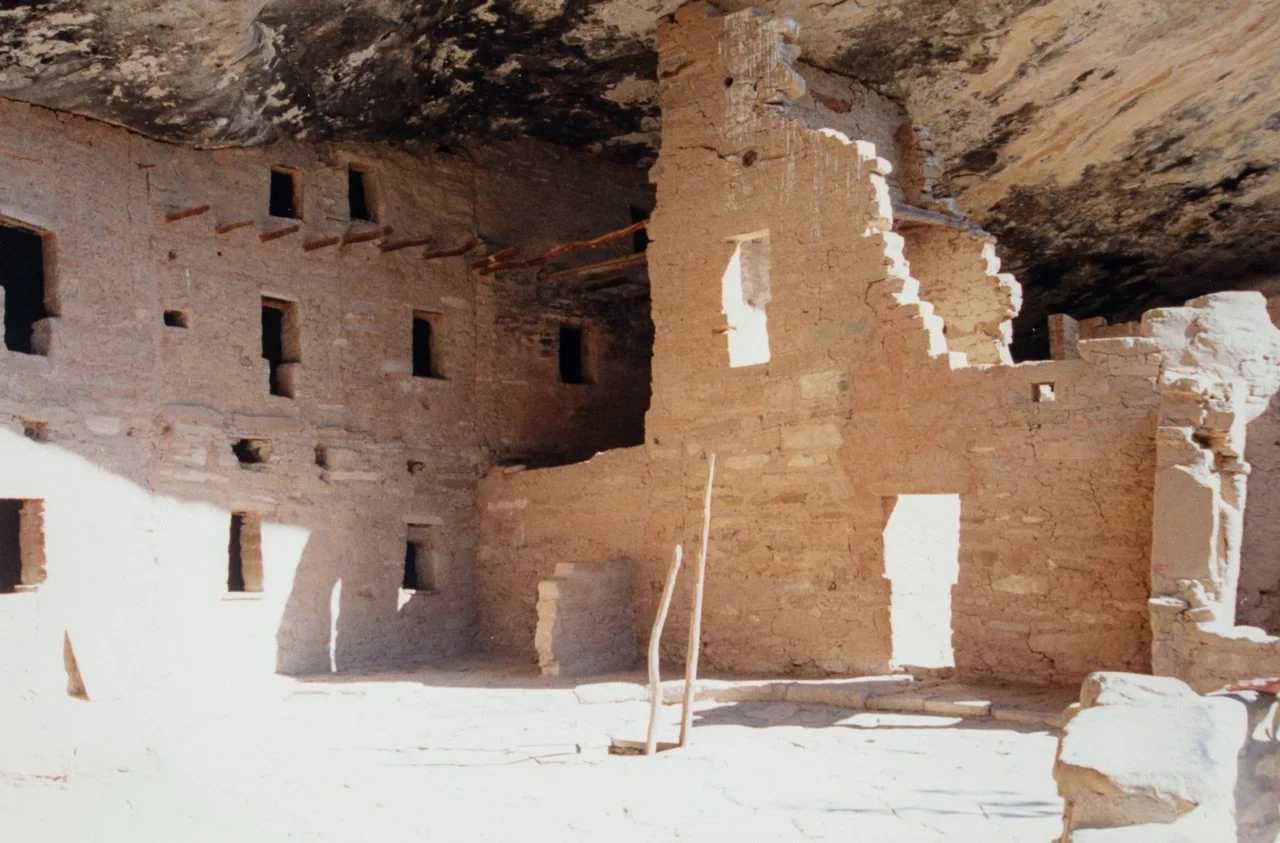
Mesa Verde Spruce Tree House in 1993, open to the public and we could walk all over it.

Mesa Verde Spruce Tree House in 2025, no longer open to the public.
Photo Travel Tip 7: put the camera down
Even though I take a lot of photos, and love my travel photos, I also like to put the camera away and just enjoy. If you find that you are so focused documenting that you are missing out on what is before you, put the camera away. It’s ok if you don’t capture everything.
Photo Travel Tip 8: put yourself in the picture
Are you the picture taker in your family? Probably, if you’ve read this far. Years ago I realized that since I take all the photos, I wasn’t in any of them. While you may or may not care if you are in the photos, your family and friends will, so do everyone a favor and make sure that you are in some of the photos too. When I travel with my family it’s now a family rule that we take at least one full family photo every day. Sometimes they are great, sometimes they are a selfie after dinner as we forgot to do it earlier. I don’t keep all of them but it ensures that we at least have some good ones. Your family and friends will thank you later. See my blog post, “Stepping into the frame: put yourself in the picture.”
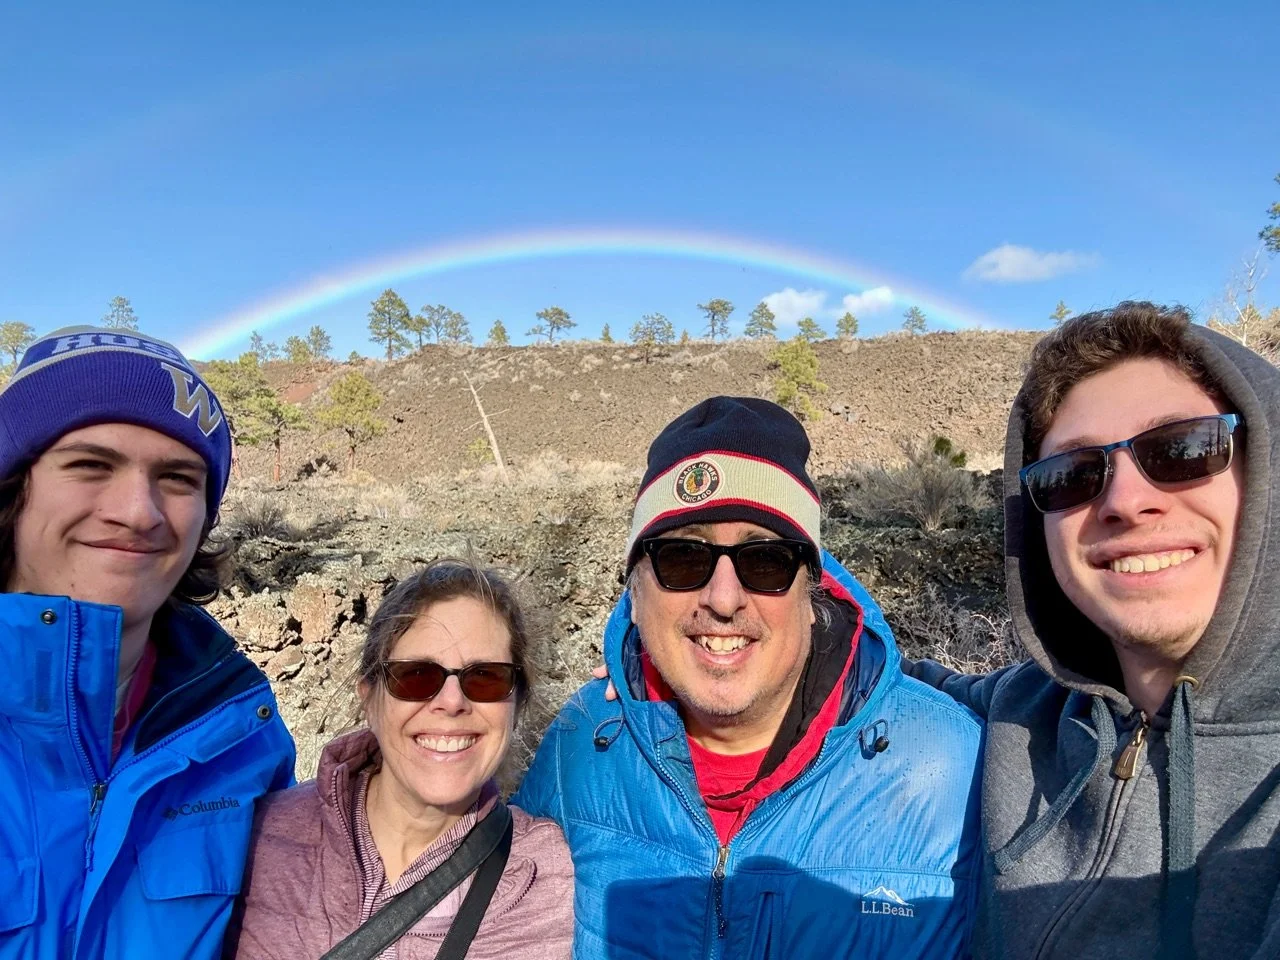
Family photo from our trip to Sunset Crater Volcano National Monument.
Additional travel-related photo organizing resources
Because I love travel, and I love photo organizing, I have several other blogs and webinars on this topic:
Travel-related webinars:
The Traveling Photographers Guide to Organizing and Backing up Photos
Organizing Your Travel Adventures with Mylio Photos
Travel-related blogs:
Two Weeks in South Africa and Photo Tips
How to Keep Your Photos Organized While Traveling Part I
How to Keep Your Photos Organized While Traveling Part II
How to Keep Your Photos Organized While Traveling Part III
Travel-related podcast
Inside Photo Organizing Season 4 Episode 36: this podcast isn’t entirely about travel, but has a lot of travel-related tips to keep you and your photos safe while on the road.