
5 Tips to Set Yourself up for Success as the School Year Begins
September is here and with that comes back to school for many of us. At the beginning of the year there is just a little bit, but as the year progresses the papers, assignments, school events, sports, and artwork start to pile up. At the end of the school year you have a big pile of paper and digital “stuff” that you either need to deal with or put off until the end of the summer, which is … now.
In today’s blog post I discuss five ways to set yourself up for success and lessen the burden during the year. Hopefully by the end of the year you have nothing more to do!

Tip 1: Create a physical and digital drop zone for school papers before they pile up
When you have younger kids, they bring home a LOT of paper. This can be everything from worksheets to artwork to photos to larger assignments. Set aside a box now where it can all go. Put this box somewhere easily accessible to where the bag unload happens so that the papers can go right into it instead of on the kitchen counter or dining room table. This is your physical drop zone.
At the same time, set up a digital drop zone - an album on your phone for school stuff. You can create just one, or create a set of albums for different types of things such as artwork, assignments, report cards, or teacher notes. This sits empty for now. Name it with the school year in the title, such as “2026-2027 Lisa school stuff”. No need to get fancy or overthink.
Tip 2: Create a quick capture habit
Create a quick capture habit to digitize the items that come home that you would like to keep. I suggest doing this weekly. Weekdays can be busy, so there’s no need to add more to the already crazy day. Instead, as the backpack is emptied each day triage it to deal with anything urgent and put the rest in the physical drop zone box.
Once a week or at whatever schedule you choose, go through the box and photograph anything you might want to keep digitally. These are not photos that you are going to blow up and put on the wall, they are just to remember something funny your kid wrote, or some artwork you like so don’t spend a lot of time or overthink. If you are unsure, take the photo. Put these digital photos into the appropriate album on your phone right away. Don’t let them just sit in the morass of your camera roll!
At this point, you decide if you want to keep the original paper or toss it. If you are keeping it, don’t let it go back into the physical drop zone box. File it away into a “keepers” box or file folder and label it with the school year and child’s name.
Tip 3: Create an album for school related photos
By school-related photos I mean photos from school events such as first day of school, back to school night, senior sunrise, that type of thing. I have an album on my phone for all of the kid’s first day of school photos, and another for their “official” school photos. I do this for things that are repeat events so that I can see them all together over the years. These also came in very handy once graduation came - I was able to quickly put them all together into one photo showing how they grew each year. For privacy reasons I’m not showing you that here, but you can use your imagination 😉.
If you are storing them in a folder system on your computer, create a naming convention as you download these files, such as “2026-09-01_Lisa first day of school”. This makes them much easier to find later.
I also have an album for school schedules. I’m not sure why, but as they grew older I like to see the progression of the types of classes and activities they were in. These start with photos from the wall on back to school night to the google calendar screen shot my oldest just sent me as he starts graduate school. I have an album called “school schedules.”
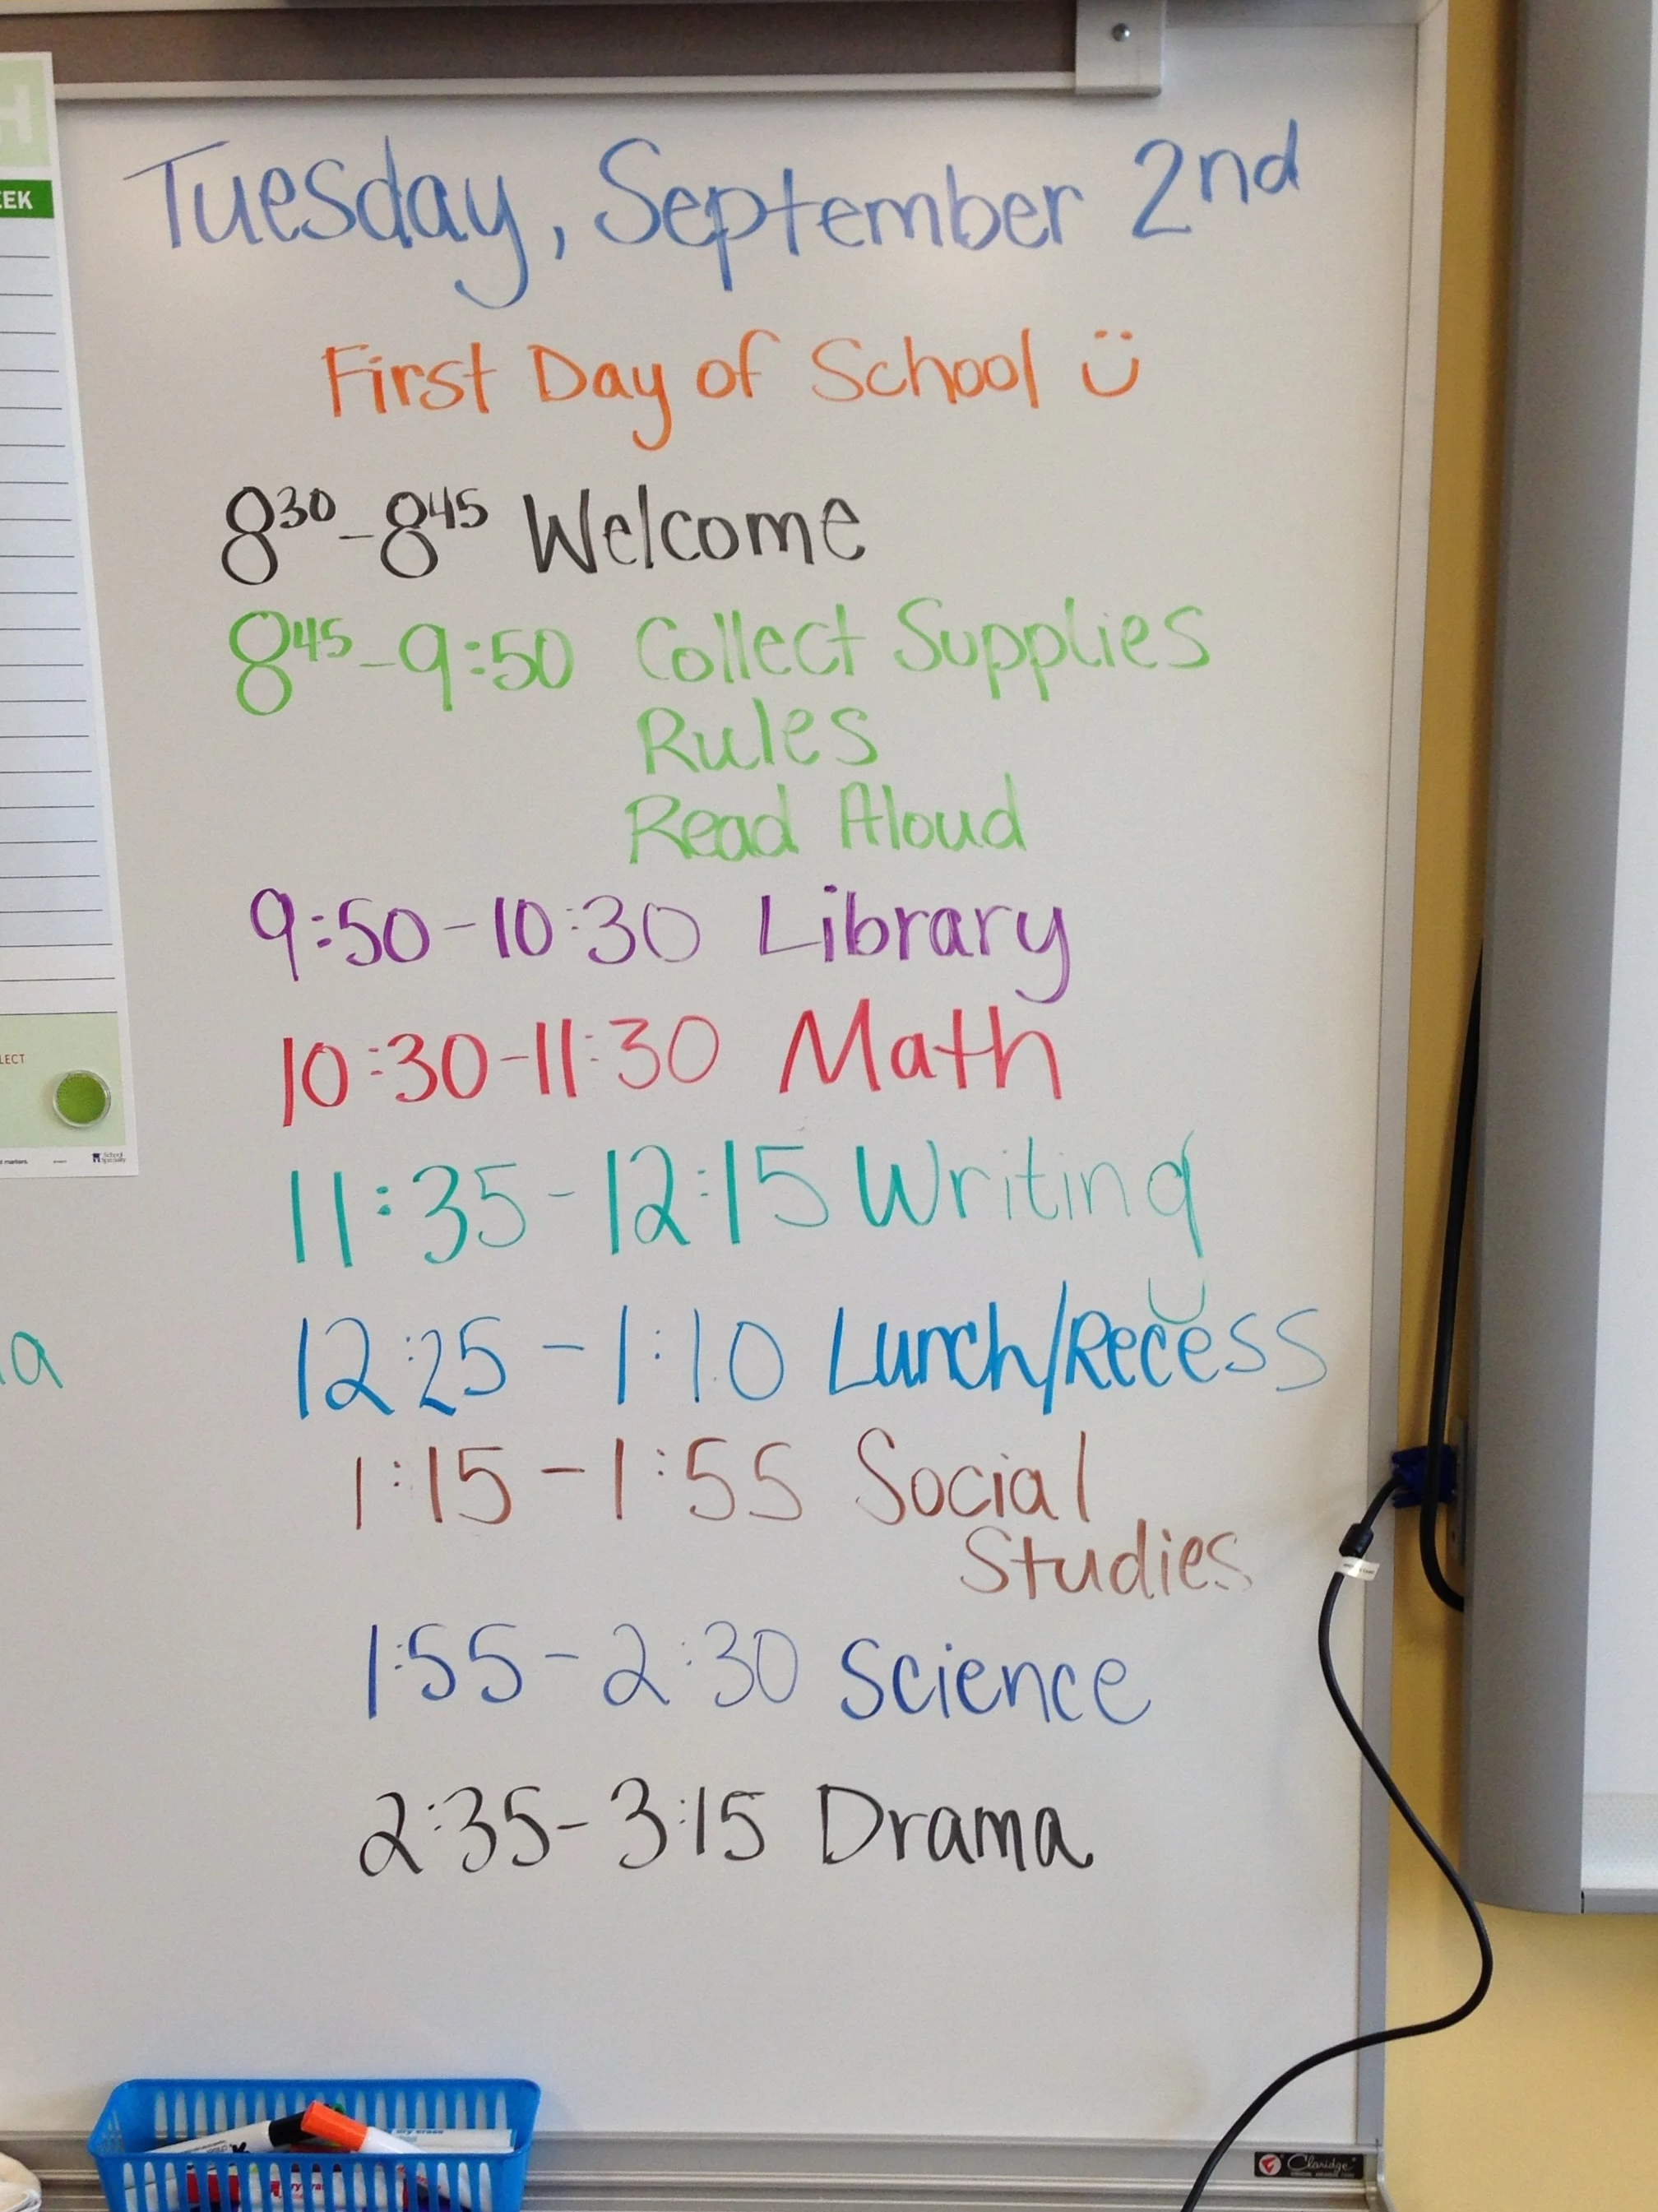
elementary school - from back to school night
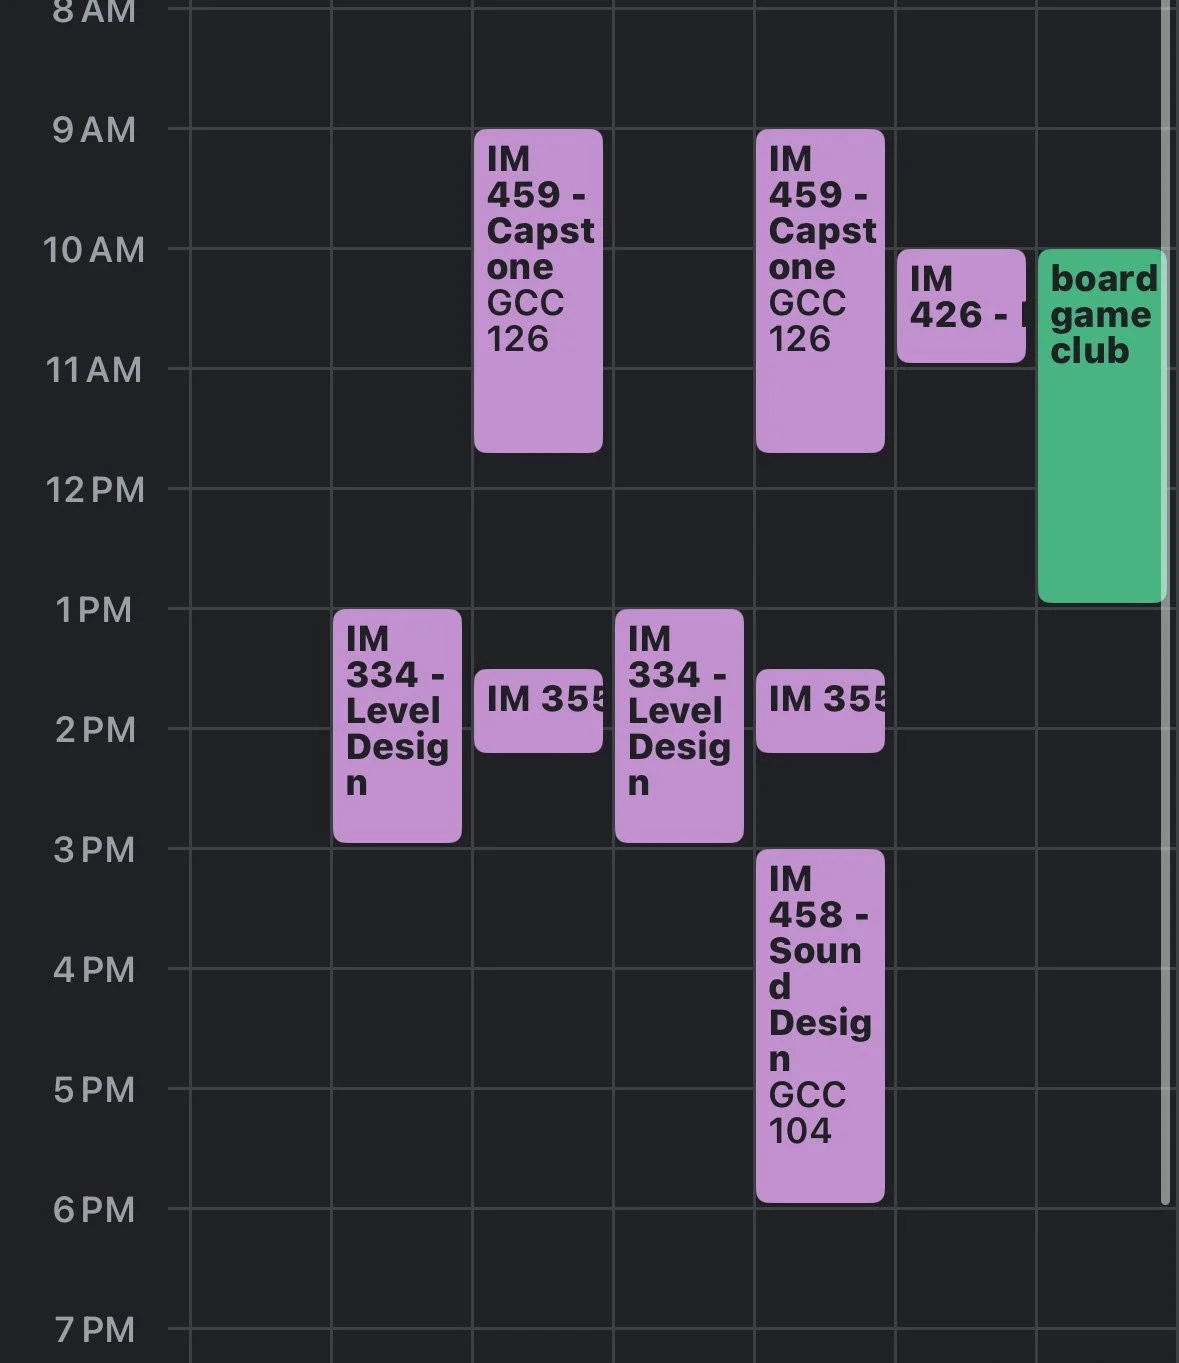
college - a screenshot of his google calendar
Tip 4: Keep the kids’ things separate
If you have more than one child, it is tempting to just throw all of their things together during the year - it’s much faster and helps to kick decisions down the road. Don’t do that! It just makes it harder later. I recently found a folder of old artwork and while I tossed most of it, there were a few things I wanted to photograph first and it took me longer than it should to figure out who’s they were. And there were a few that I could not figure out. When your kids are young it’s obvious, but 10 years out? Not so much.
If you are regularly processing the items in the physical drop zone box you can mix them together then separate them when you photograph. Take the photo and put it in the appropriate child’s album. Have an item that belongs to both kids? Not a problem, add it to both of their albums. That’s the beauty of using a database to store your digital photos - they can be in as many albums as you like.
Tip 5: Decide now how to handle all the sports and school activity photos
While Tip 3 dealt with official school events - ones that don’t generally create a whole lot of photos - I am now talking about the regular events throughout the year where you will end up with lots and lots of photos. If your kid plays soccer or is in a school play, you know what I mean!
I use the same process as I do with everything else, I create albums for these and add the photos to them shortly after I take them. For sports I don’t bother making different albums for each game as the time stamps on the photos help to separate them. I did make different albums for each of the drama performances as they were quite distinct, and different albums by season and sport. Bonus if you can review and get rid of a few before adding them to the album. Make the albums now, so that when you take the photos you have someplace to put them.
These days the AI in your photo database can likely find most of your soccer photos. But it won’t find the drama photos, or some of the other activities. I find the album approach much easier than a simple AI search for things like this. And if you have a fencer, like I do, AI has yet to pull up those photos when I search “fencing.”
Bonus tip: if you have a parent that takes all the photos for the team or group, as soon as you receive the link take a look and just download the ones that you want and put them in the appropriate album. Don’t download the whole batch and figure you’ll get to it later - you won’t.
Tip 6: Favorite your favorites!
Because I can never keep myself to just 5 tips, here is a bonus 6th, and the most important one. As you take, download and/or process the photos, favorite your favorite ones. This makes them easier to find later. If you have a soccer player with 15 games during the fall season, that is still a lot of photos to go through later when you are looking for something. Stick that heart on right away as the photo comes in. Your future self will thank you.
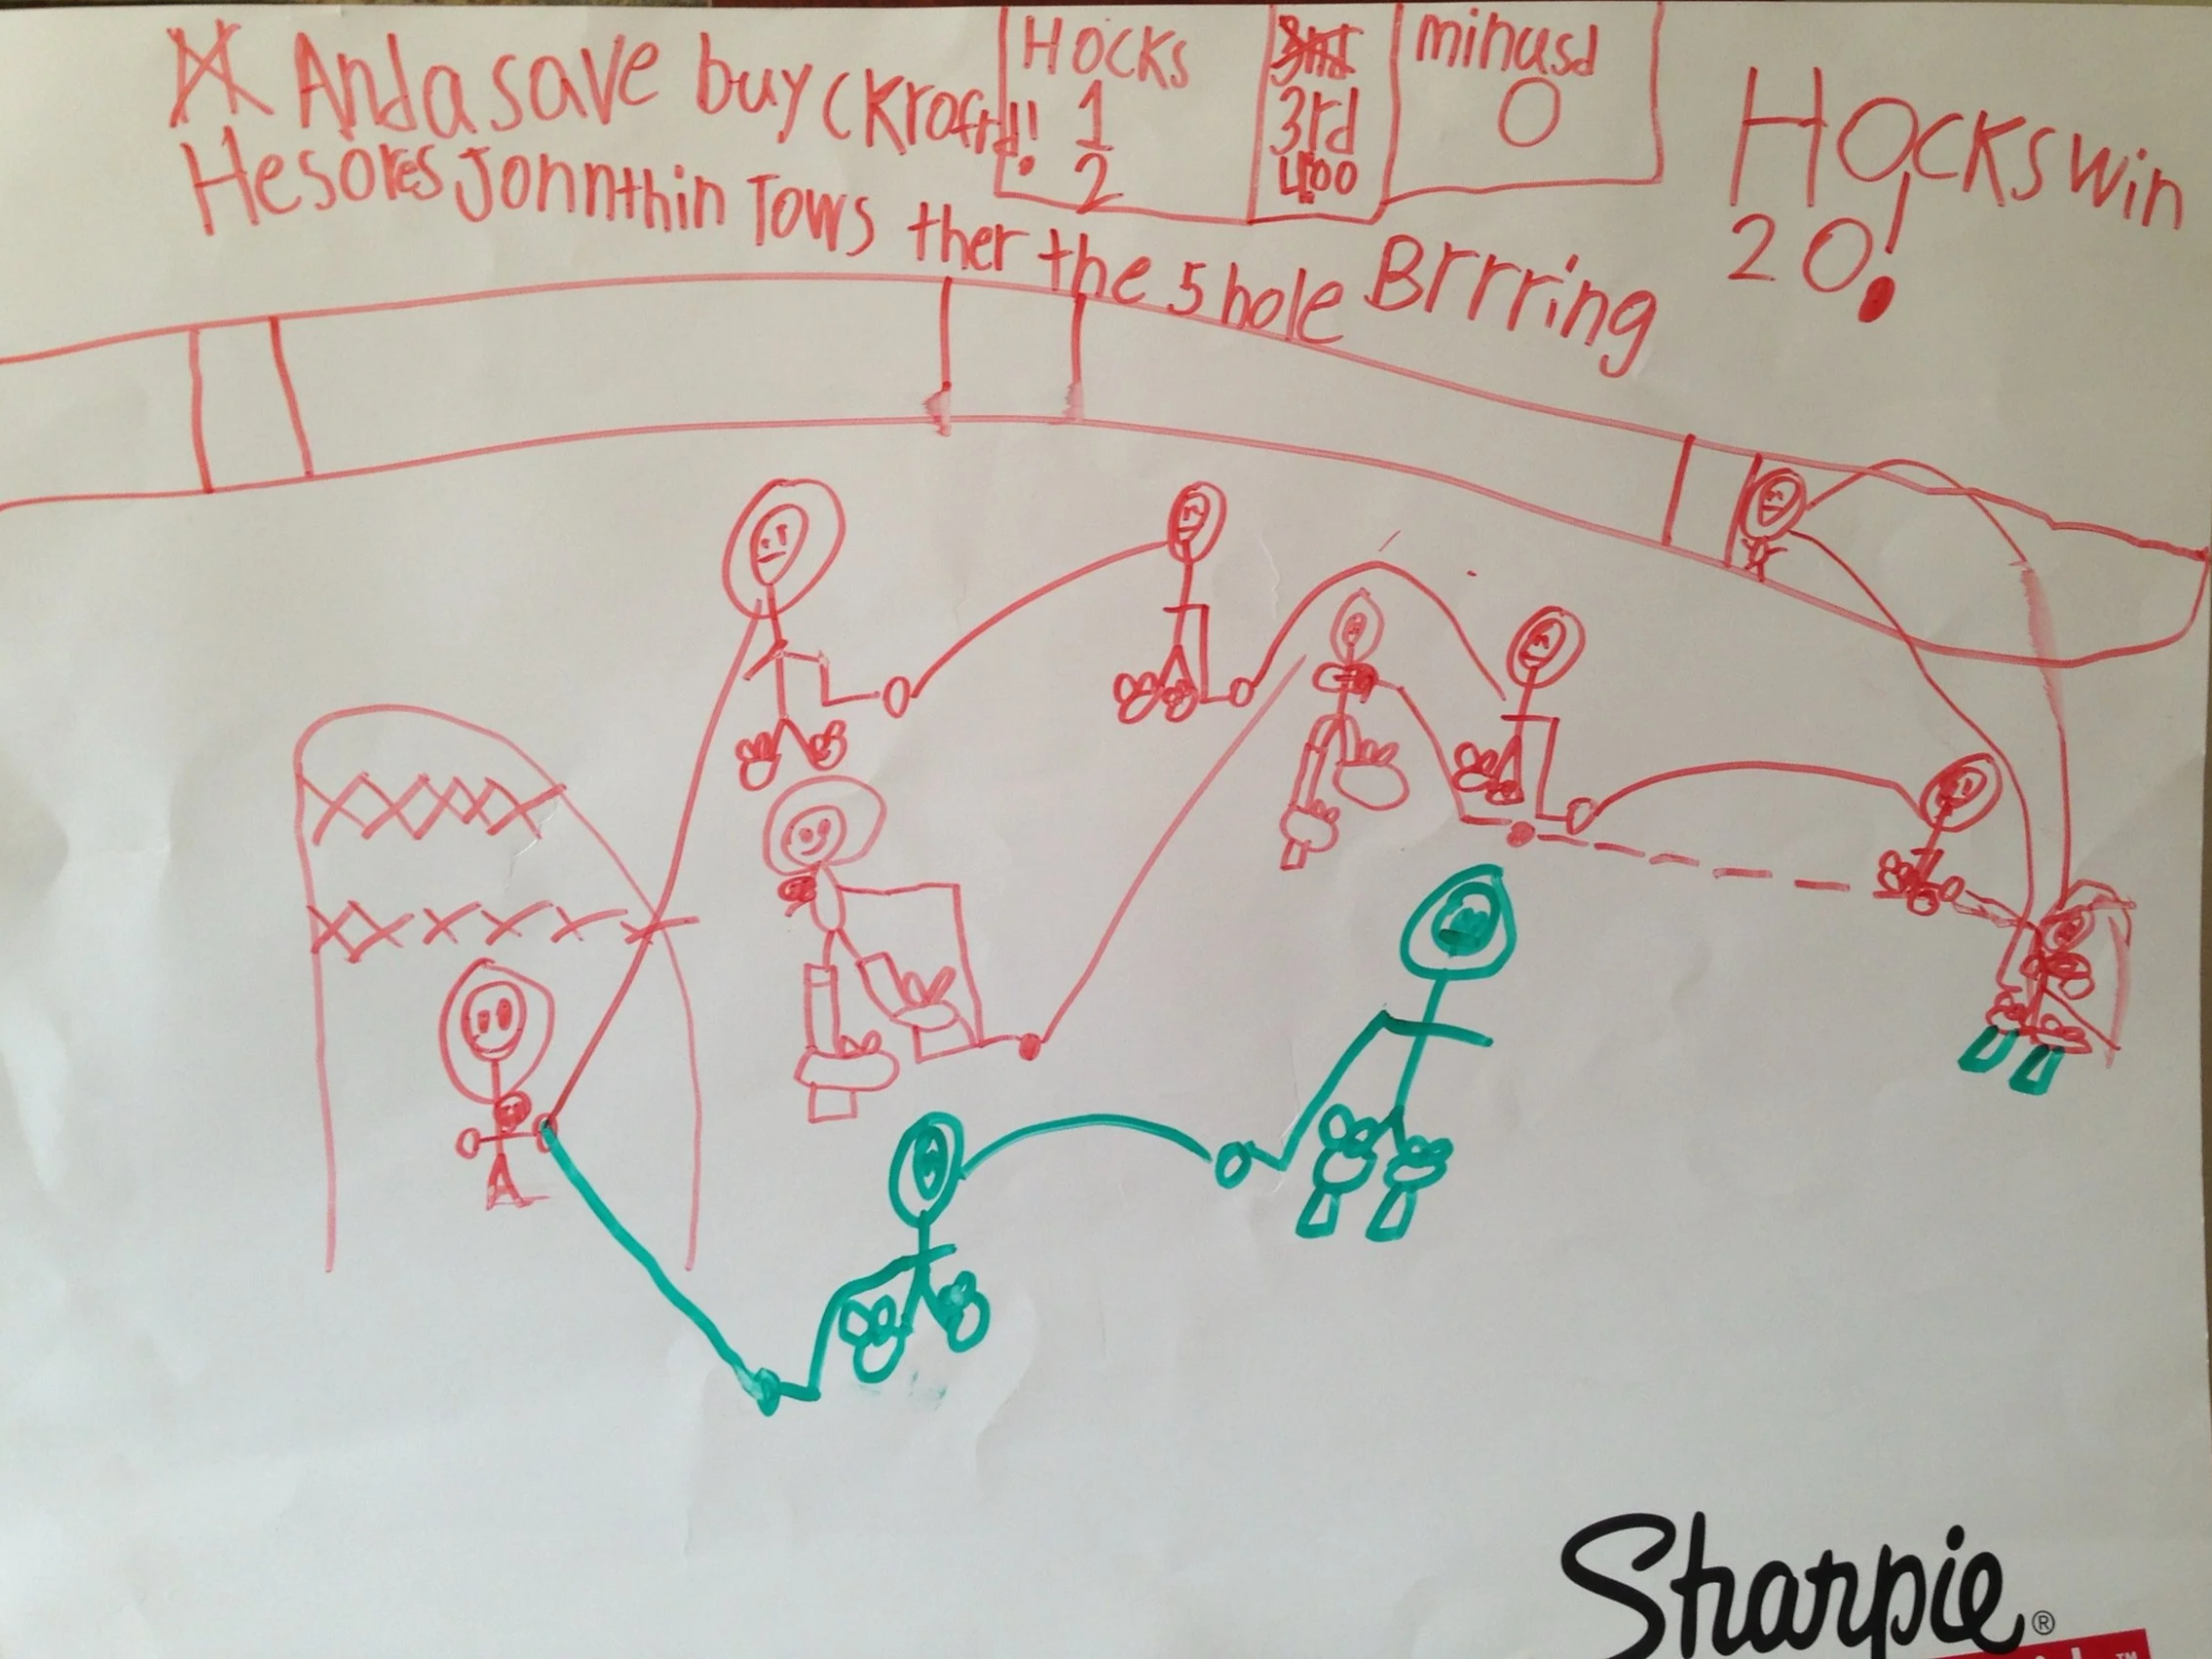
One of my very favorites - but it is poster size so no need to keep the original!
Final note: this will not make your camera roll smaller and that’s ok!
Whatever you use to store and view your photos on your phone, following these tips will add to your camera roll, not make it smaller. That’s ok! Organizing photos into albums does not take them out of your camera roll on Apple Photos, Google Photos, FOREVER, Mylio, or anywhere else. But what it does do is give you an organized place to look for things you might want to find, because you can go straight to the albums instead of doing the never-ending death scroll through your photo library.