
Six Ways to Enjoy Your Travel Photos
**This is NOT a sponsored post but does contain affiliate links (marked by each product) that earn me a small commission if you purchase through the link.There is no additional cost to you but it does give my small business a tiny boost!
You’ve taken your trip, you’ve culled your photos, now what?
The whole point of taking photos and saving them is to preserve something that you want to remember. Not keep them in some black hole of a photo library that you never see.
I’ve written a lot in this space about culling photos, different software in which to keep your photos, and other travel photo tips and tricks. But what do you do next to make sure you are enjoying your photos?
Create a Favorites Album
Create a digital album in your photo software of your favorites for each trip. These are the photos and videos that you tend to share when someone asks, and the ones you always go back to. You may ask is it worth it to save the rest? For me, yes it is. For any given trip I probably have 15-25 favorite photos. But that doesn’t mean that I don’t value the rest of them. Some photos provide context. Some provide memories but aren’t great photos that you would share. Some might be things like a funny sign, or the weather if it was particularly notable. For me, I also have some terrible photos of birds that I keep - if it’s the only one I have I’ll keep it even if it’s just a warbler butt (inside joke for my birding buddies out there).
Pro Tip: Apple Photos will now make a “trip” album for you. I’ve found that this feature is decent, but makes some mistakes. My biggest pet peeve is that you can’t currently rename the album. It will also put ALL the photos from your trip in it which might be fine, but doesn’t help you pull out your favorites. I create my own trip albums for these reasons - one with all the photos and my favorites marked. If you are an iPhone user, I suggest looking at what Apple creates for you. If you like it, great, you are done. If not, you can always create your own collections. If you are trying to organize photos from trips long ago, the Apple pre-created collections are a great way for you to get started.
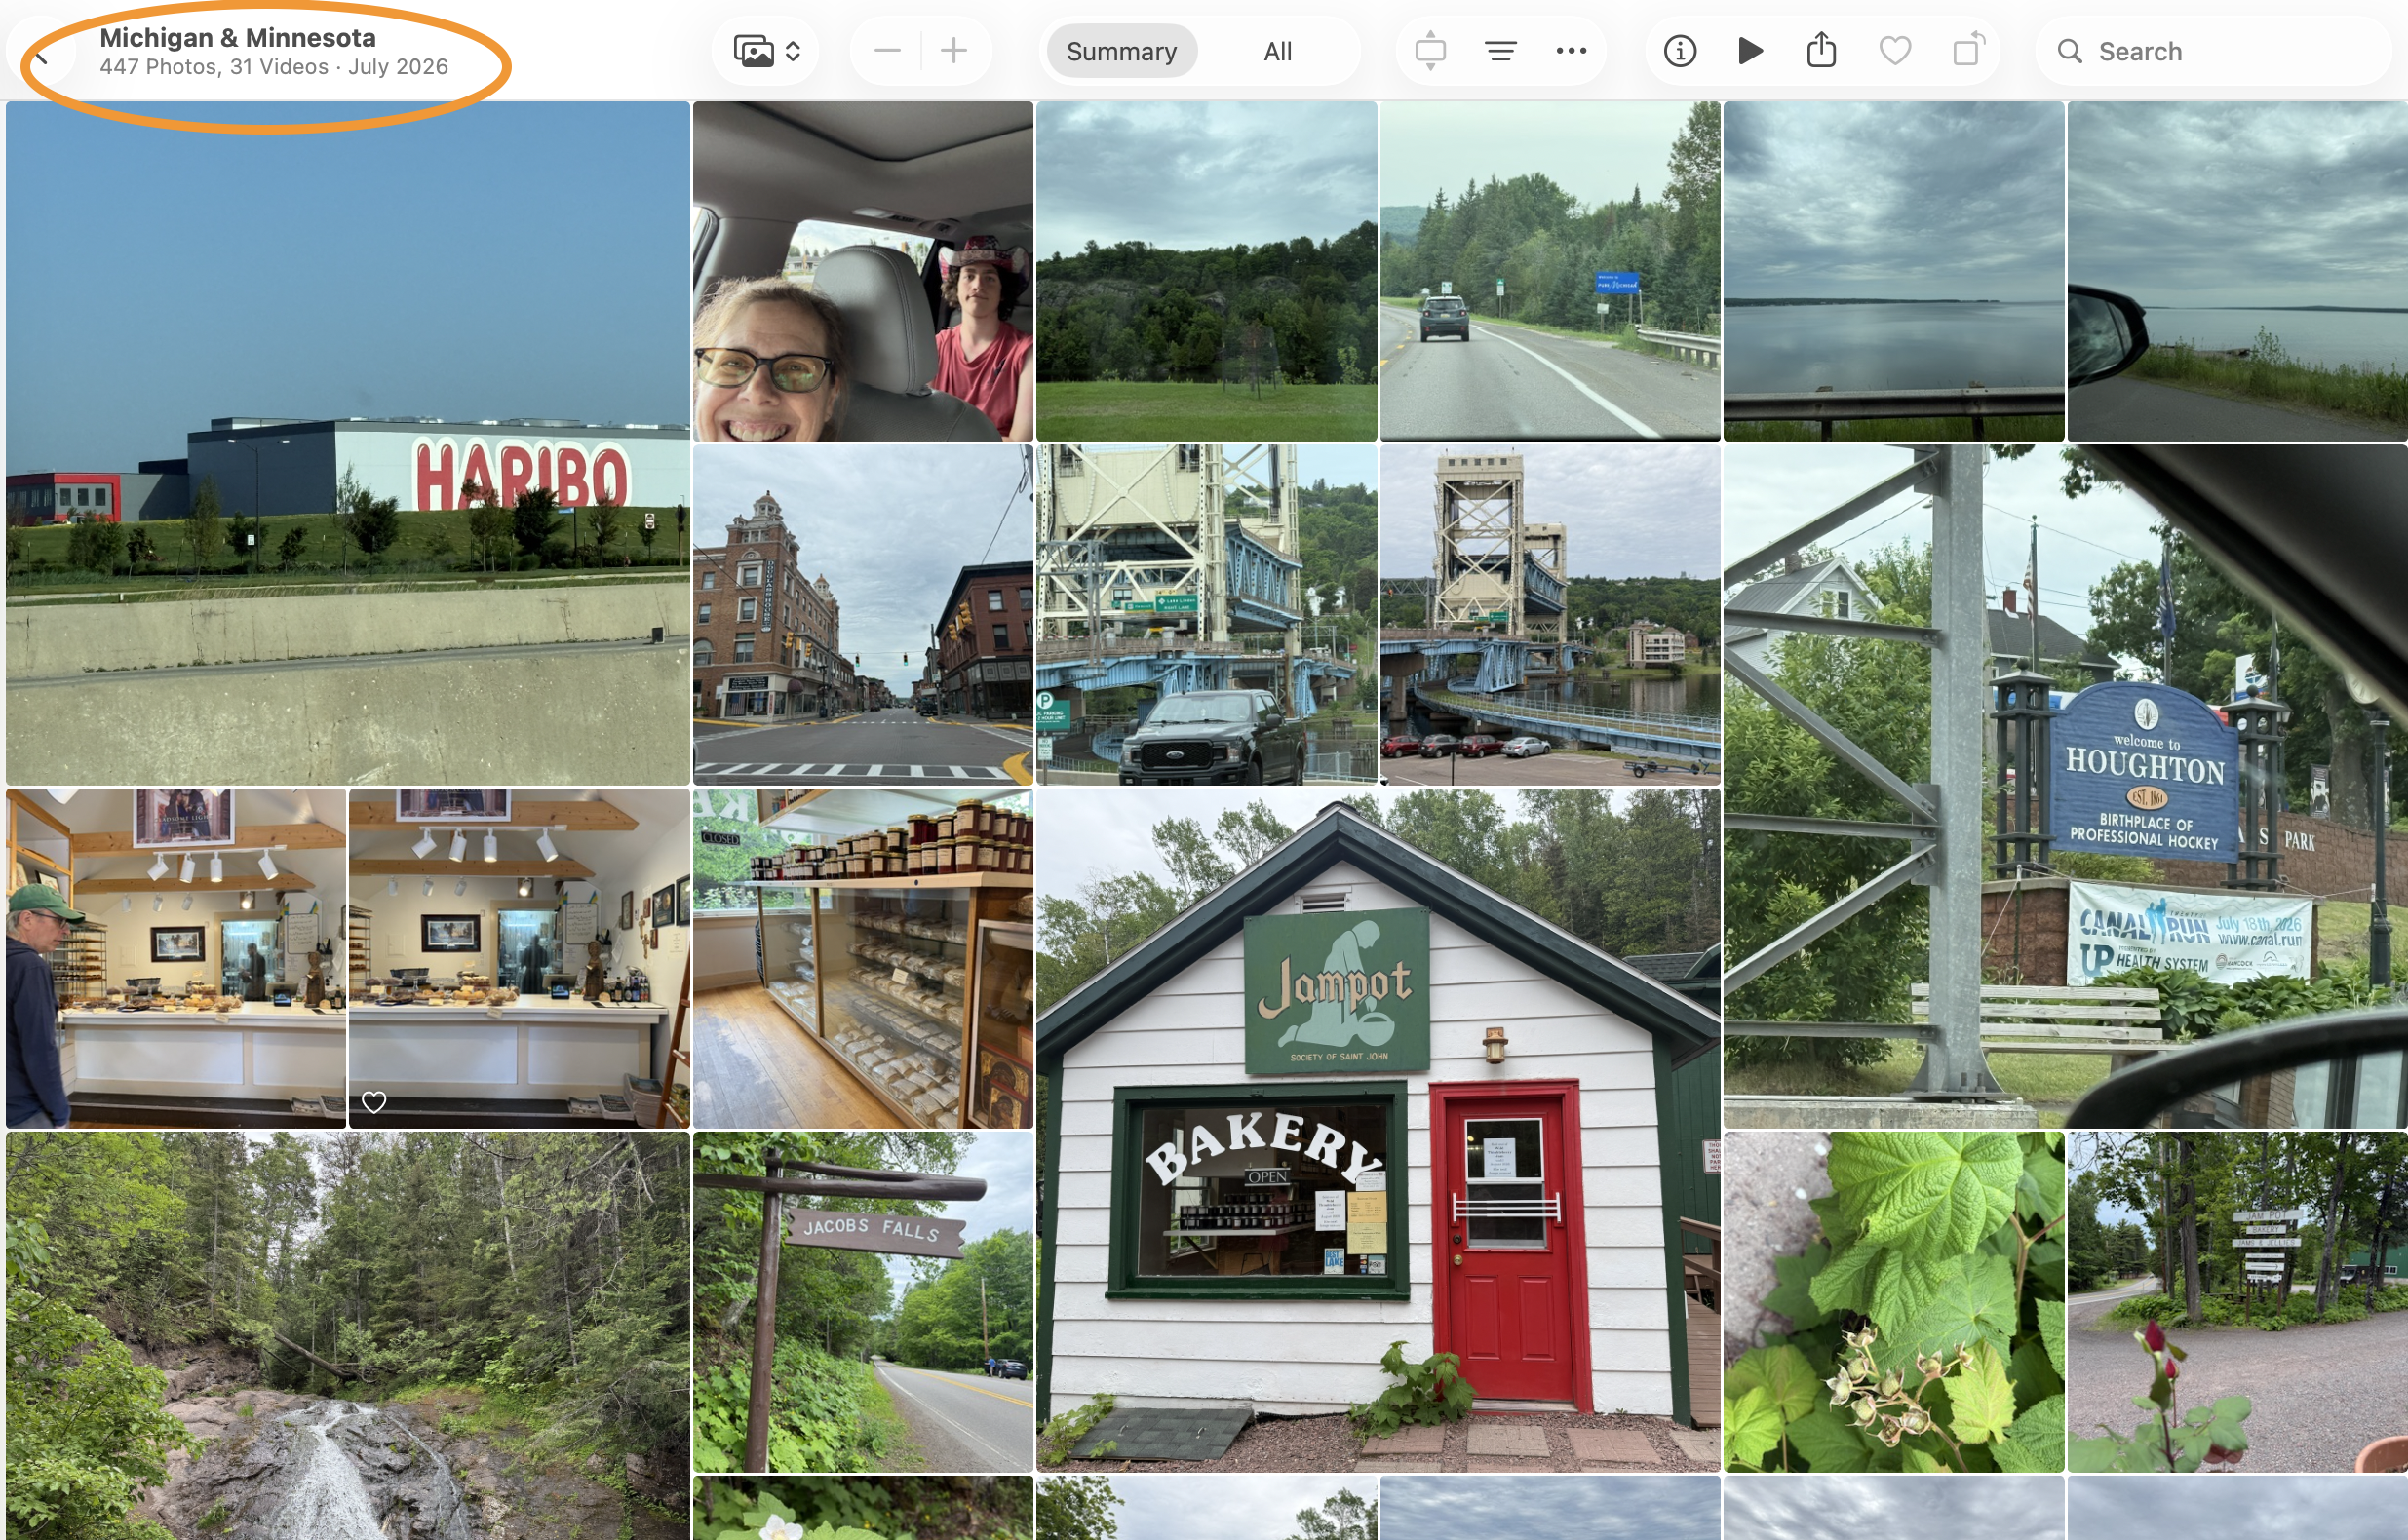
A snapshot of the album Apple Photos created for a recent roadtrip up north. Poor Wisconsin apparently was not important enough to make it into the title. I would have named this “Northern Parks Roadtrip” but Apple does not give me that choice.
Put all your Travel Photos Together into Folders and/or Grouped Albums
I love to travel, so I like to have all of my travel photos together. But I also like to keep them where they fit chronologically. This creates a conundrum.
If you are using a folder based system, decide if you want to place your trip photos chronologically with the rest of your photos or in a master folder called “Travel”. If they are chronological, put them in their own folder named by the date - all of mine are dated something like, “2025-02_South Africa”. This allows them to sort in the proper place.
If you are using a database type of system (Apple Photos, Google Photos, FOREVER, others), your photos will automatically be grouped chronologically if the photos have the correct date. But you may also want to create a travel section with albums for each trip so that you can keep all travel together.
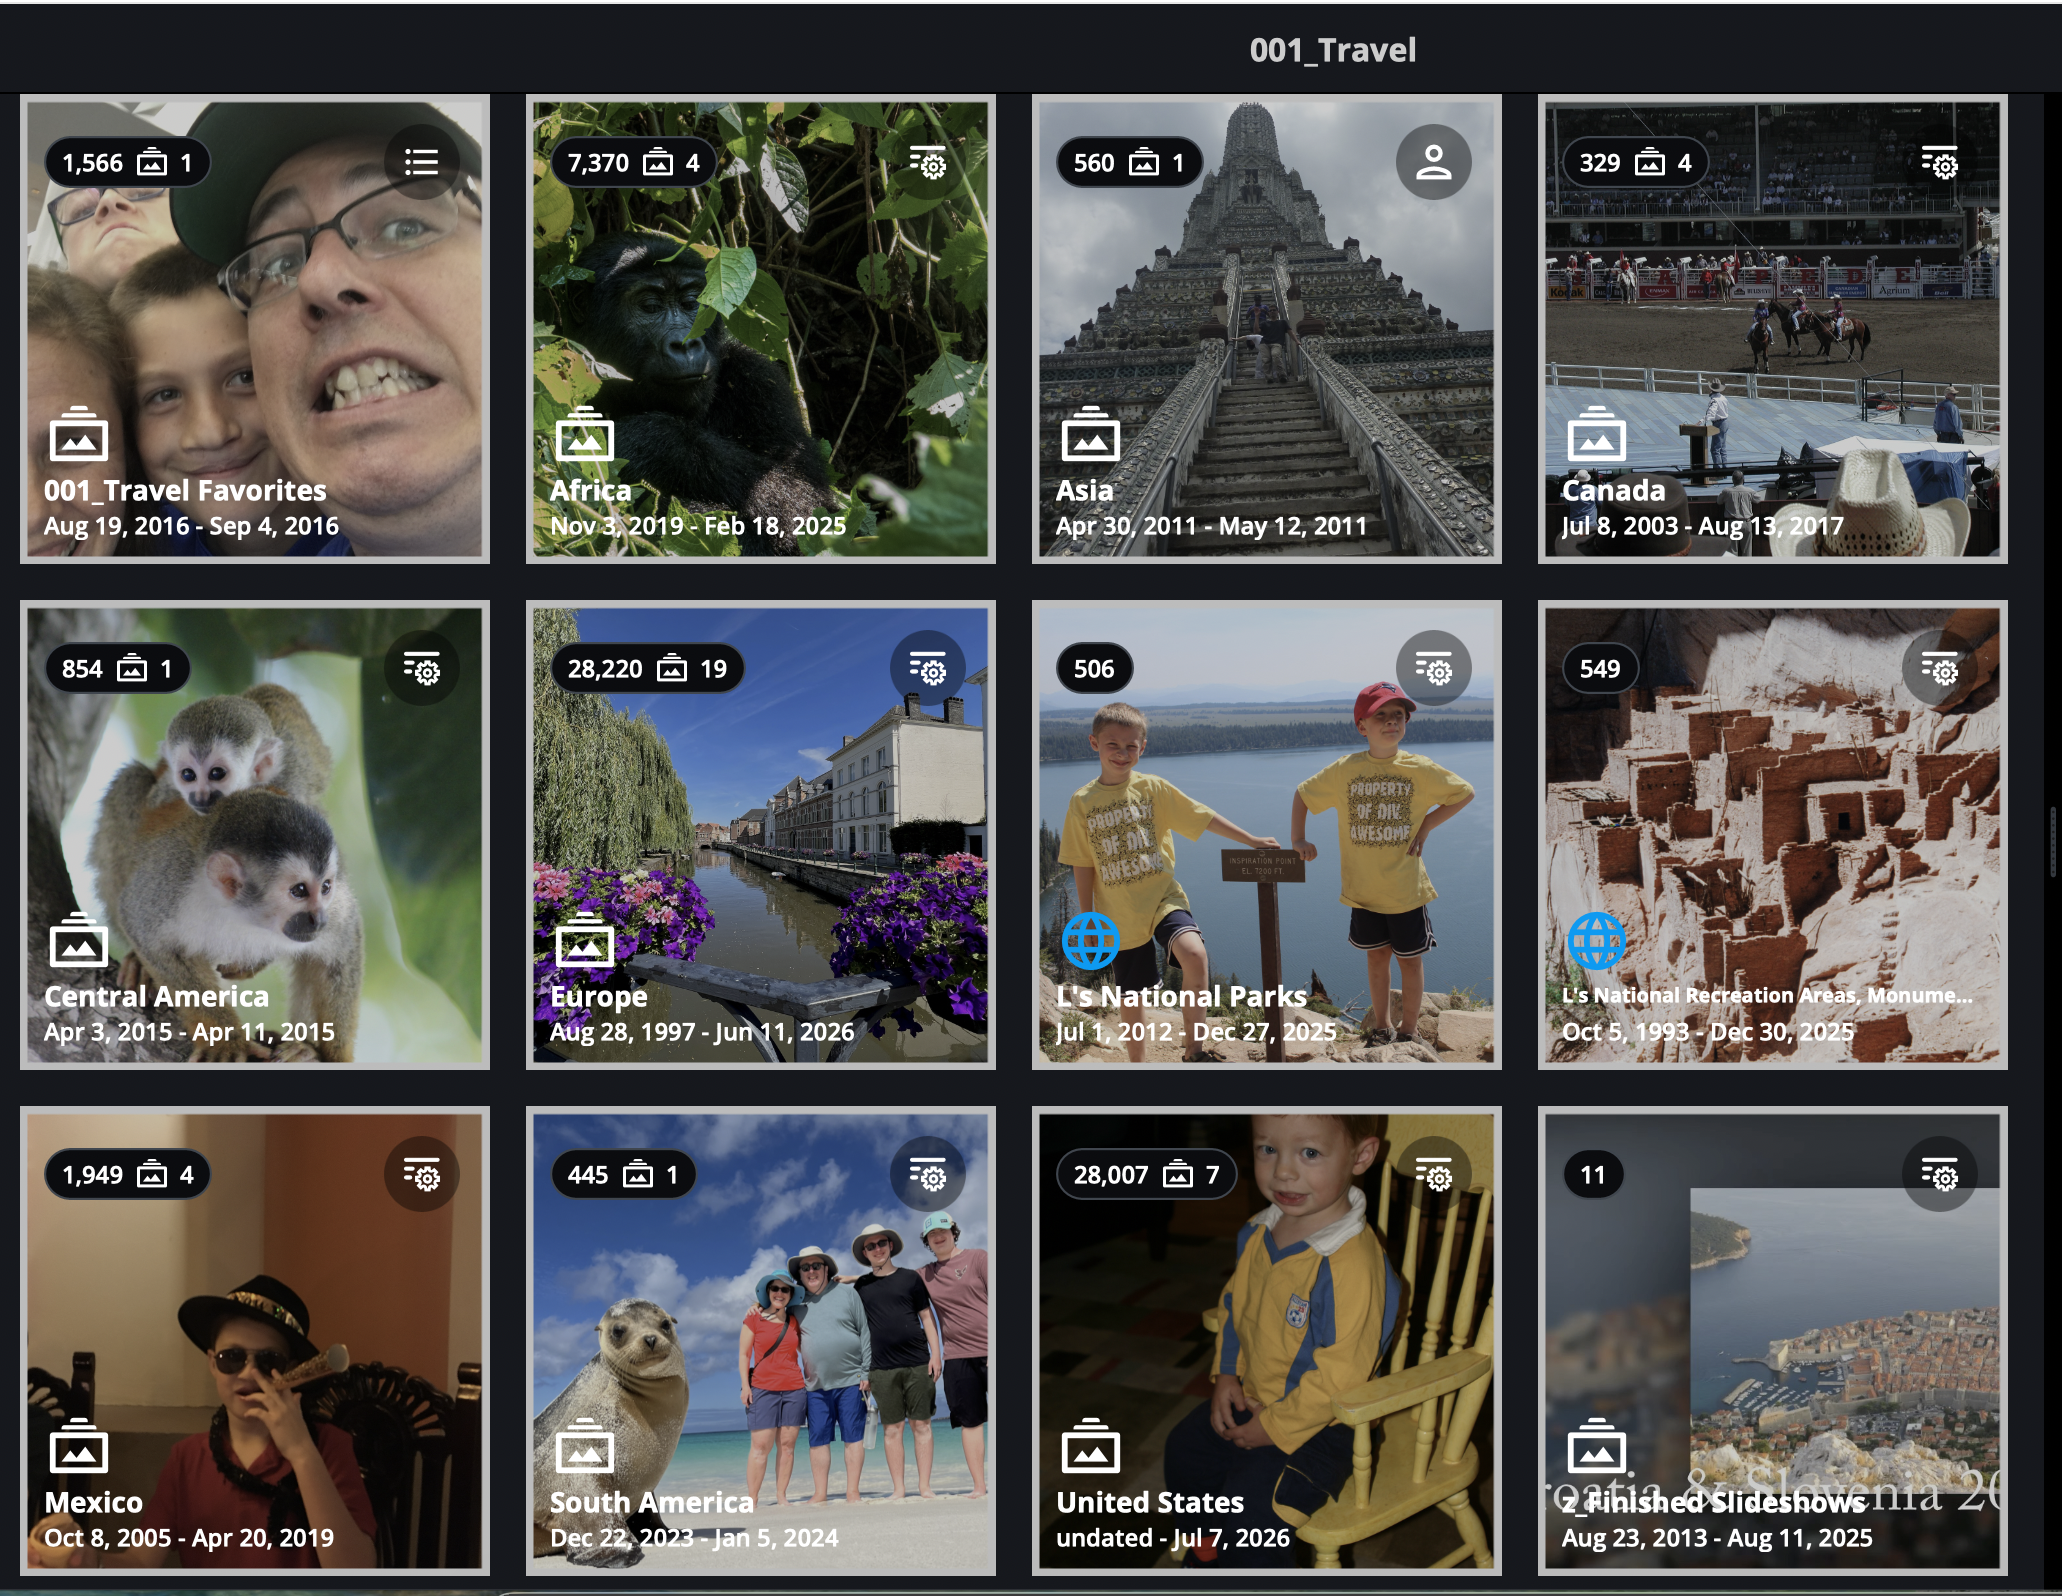
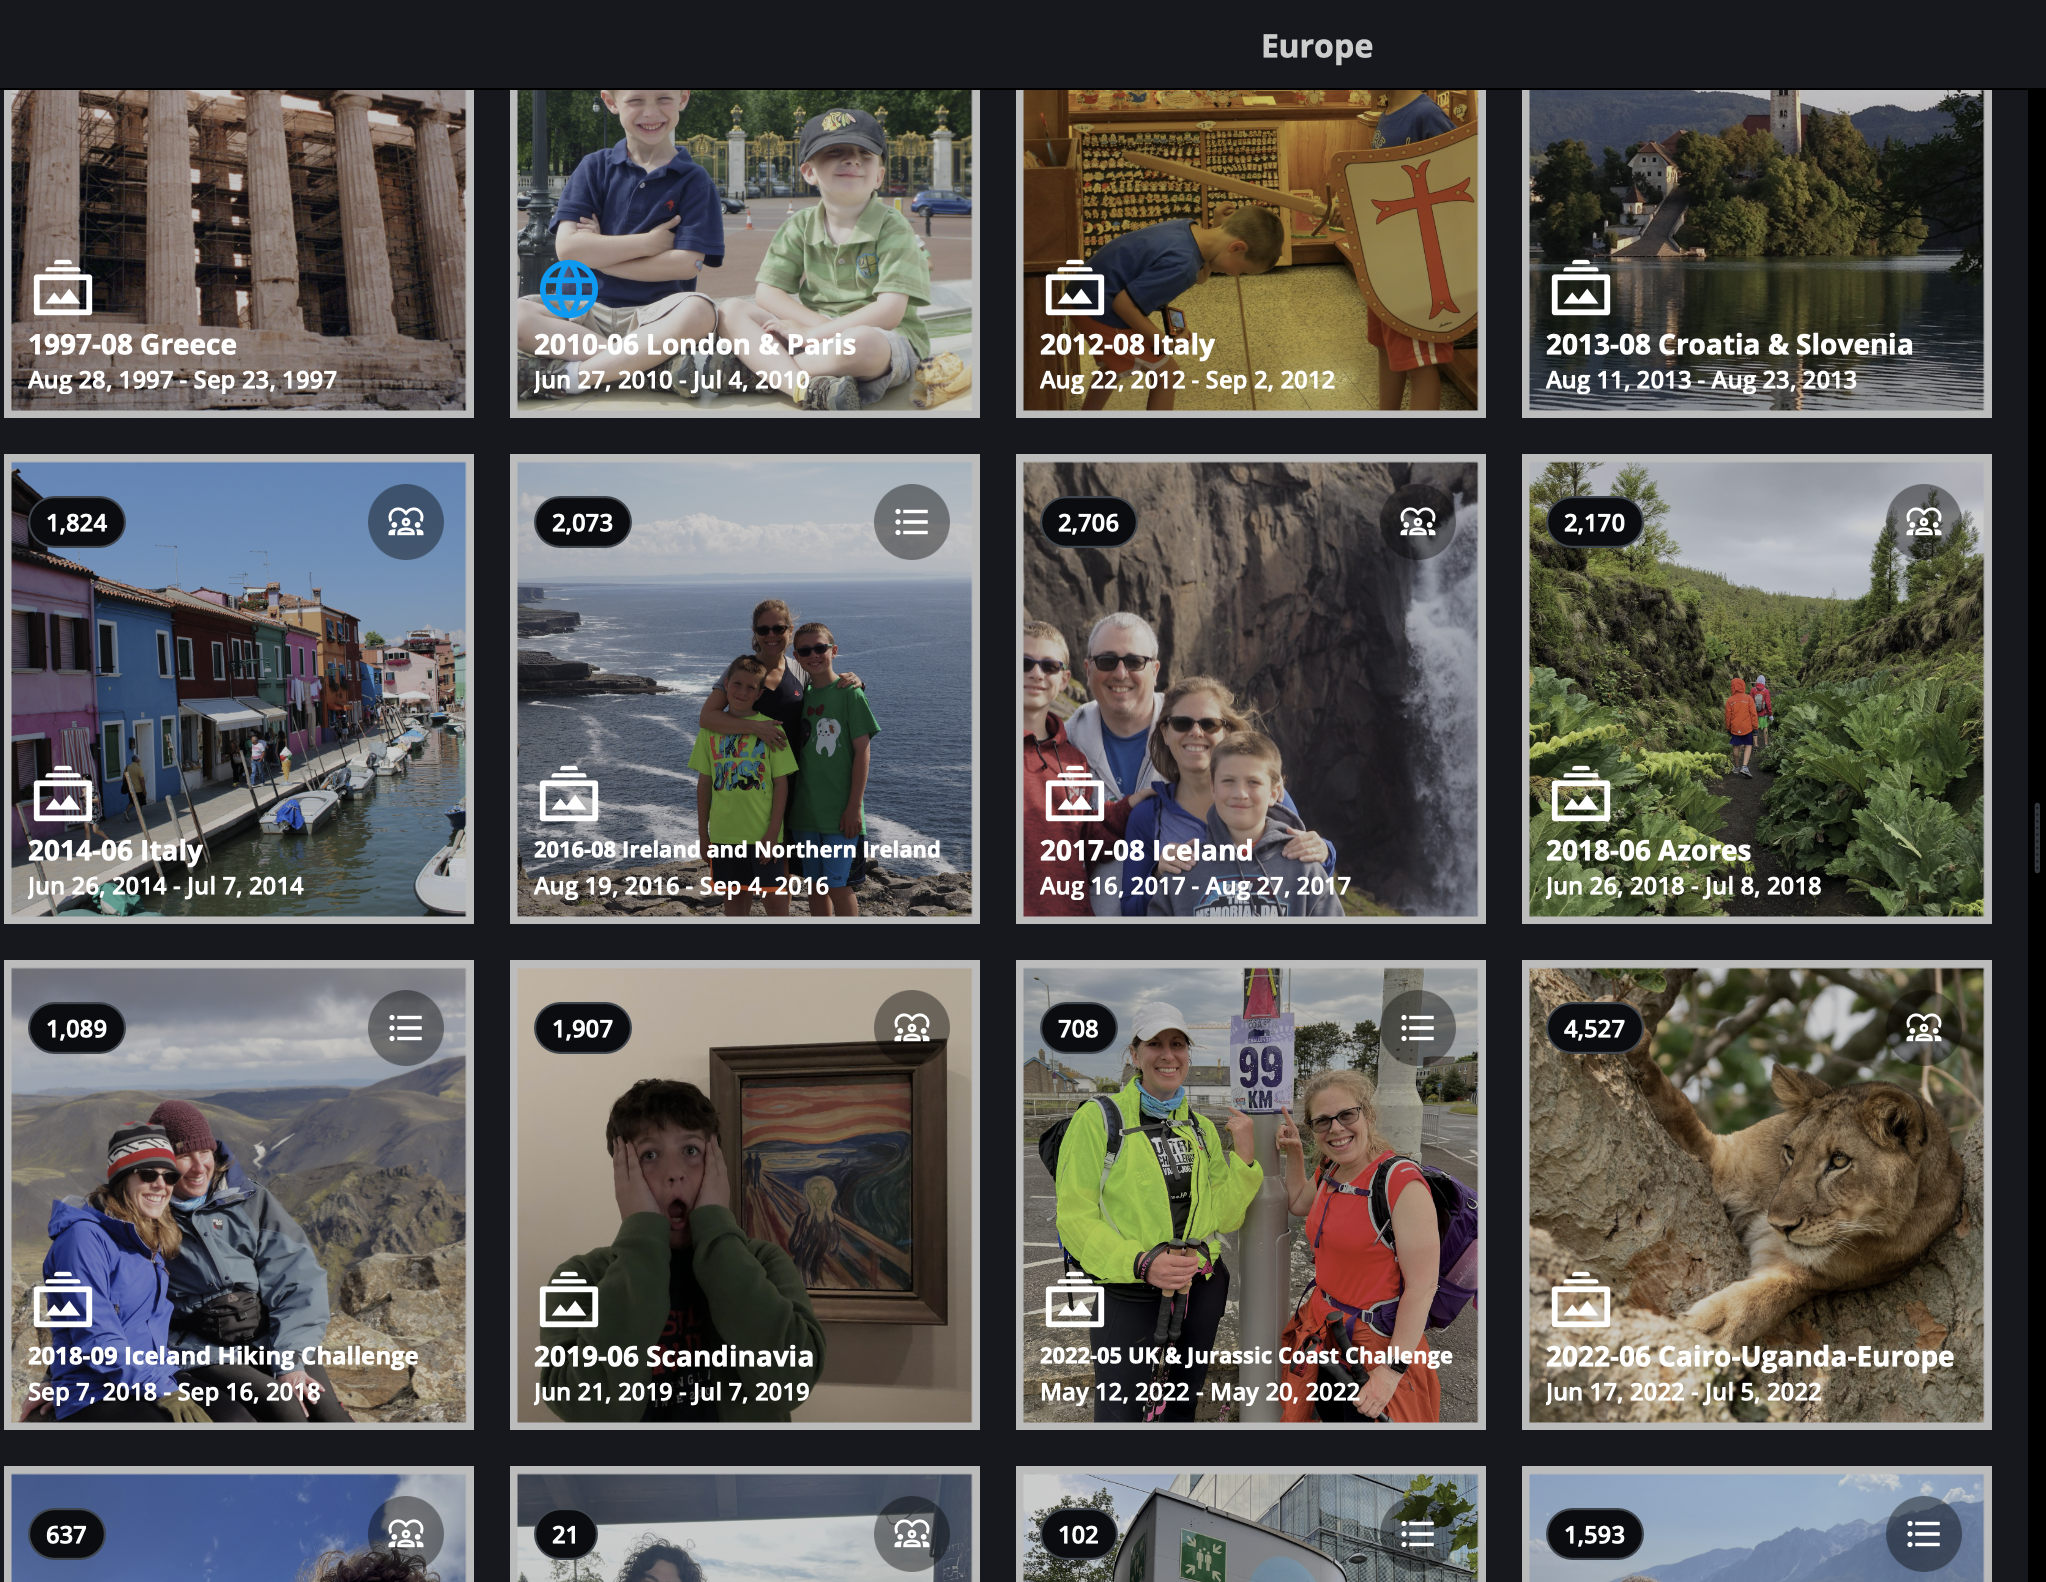
If you are using a hybrid like Mylio Photos, you can do both. I have my travel photos in folders chronologically, but also have a master album for travel, with sub-albums loosely based on continents, then individual trip albums. This way I can see, for example, all of my Europe albums together.
Decide what works for you and be consistent.
Make a Photo Book
Pull your best photos and create a travel book. I create books for all of my trips, and always keep one or two out on the coffee table. They rotate in and out. When the kids come home, when we have people over - someone is always looking at a book. Sometimes, especially in the dead of winter, I pull out an older one and look through it. Which then leads to pulling out another, and another. There is something special about actually holding a book and flipping through the pages. That feeling cannot be matched by swiping through a phone.
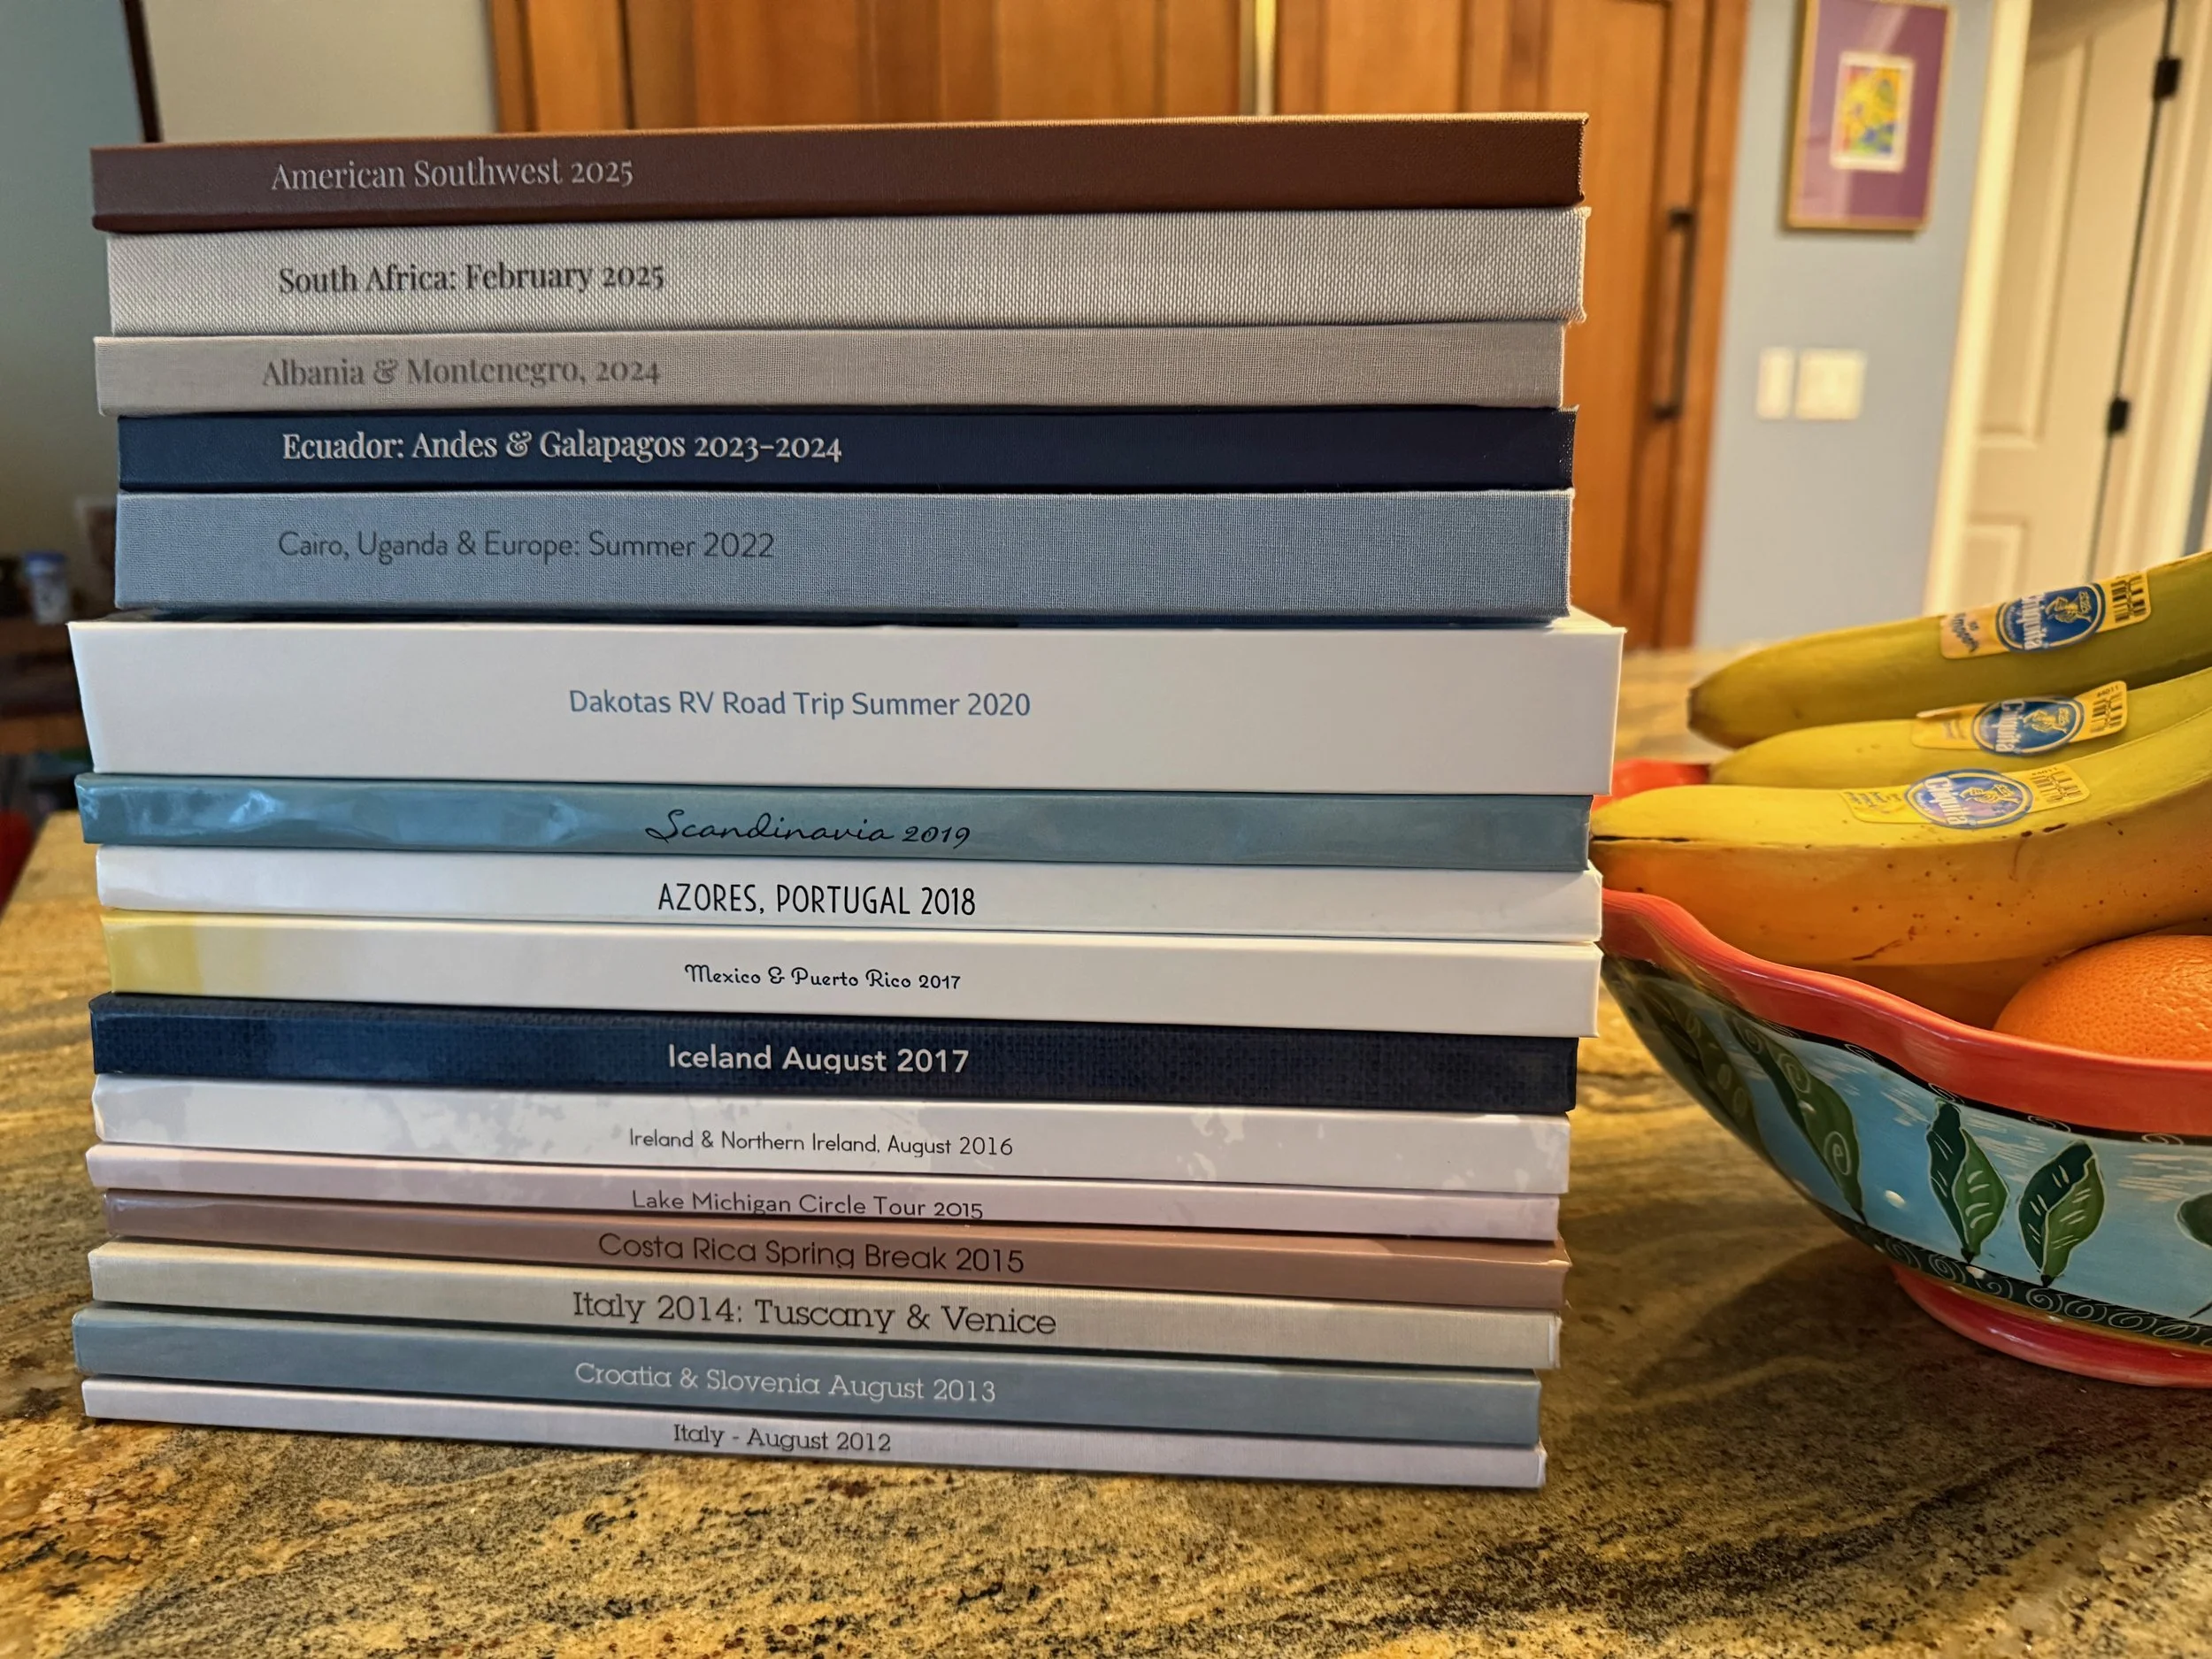
Some of my travel books that I attempted to photograph artistically in my kitchen (this type of photography is not my strong suit!)
Pro Tip: After you make your book, keep digital copies of all the pages and put them in your photo library. This is super handy when someone asks you about your itinerary, or if your kids want a copy but have no room in their apartments.
Because I now design all of my books in software that is independent of any printing company, I can easily save jpgs of each layout. But I also went back to books I made 20 years ago - I was pleasantly suprised to find some of them still available from my printer. For these, while I could have taken the time to scan them properly (and I still may someday when time allows), instead I just took quick screenshots from my computer and added these to my library. These are books I want to keep digitally but know that I will never need or want to print them again. If you think you may re-print, then make proper scans as you can’t print well from screenshots.
Need help? Do you love the idea of creating your photo book but don’t know where to start? Making travel photo books is one of my favorite services, so if you’d like me to create a keepsake for you, please reach out here. Want to do it yourself but need some help and/or accountability? My colleague over at GingerSnaps has a travel-specific studio where she walks you through everything: choosing your story, prepping your photos, designing your pages (including maps and location graphics!), and ordering your finished book. You work at your own pace with monthly live sessions (via zoom), replays, and her guidance the whole way through. If this sounds like you, check her out here! (affiliate link).
Add Favorites to a Digital Frame
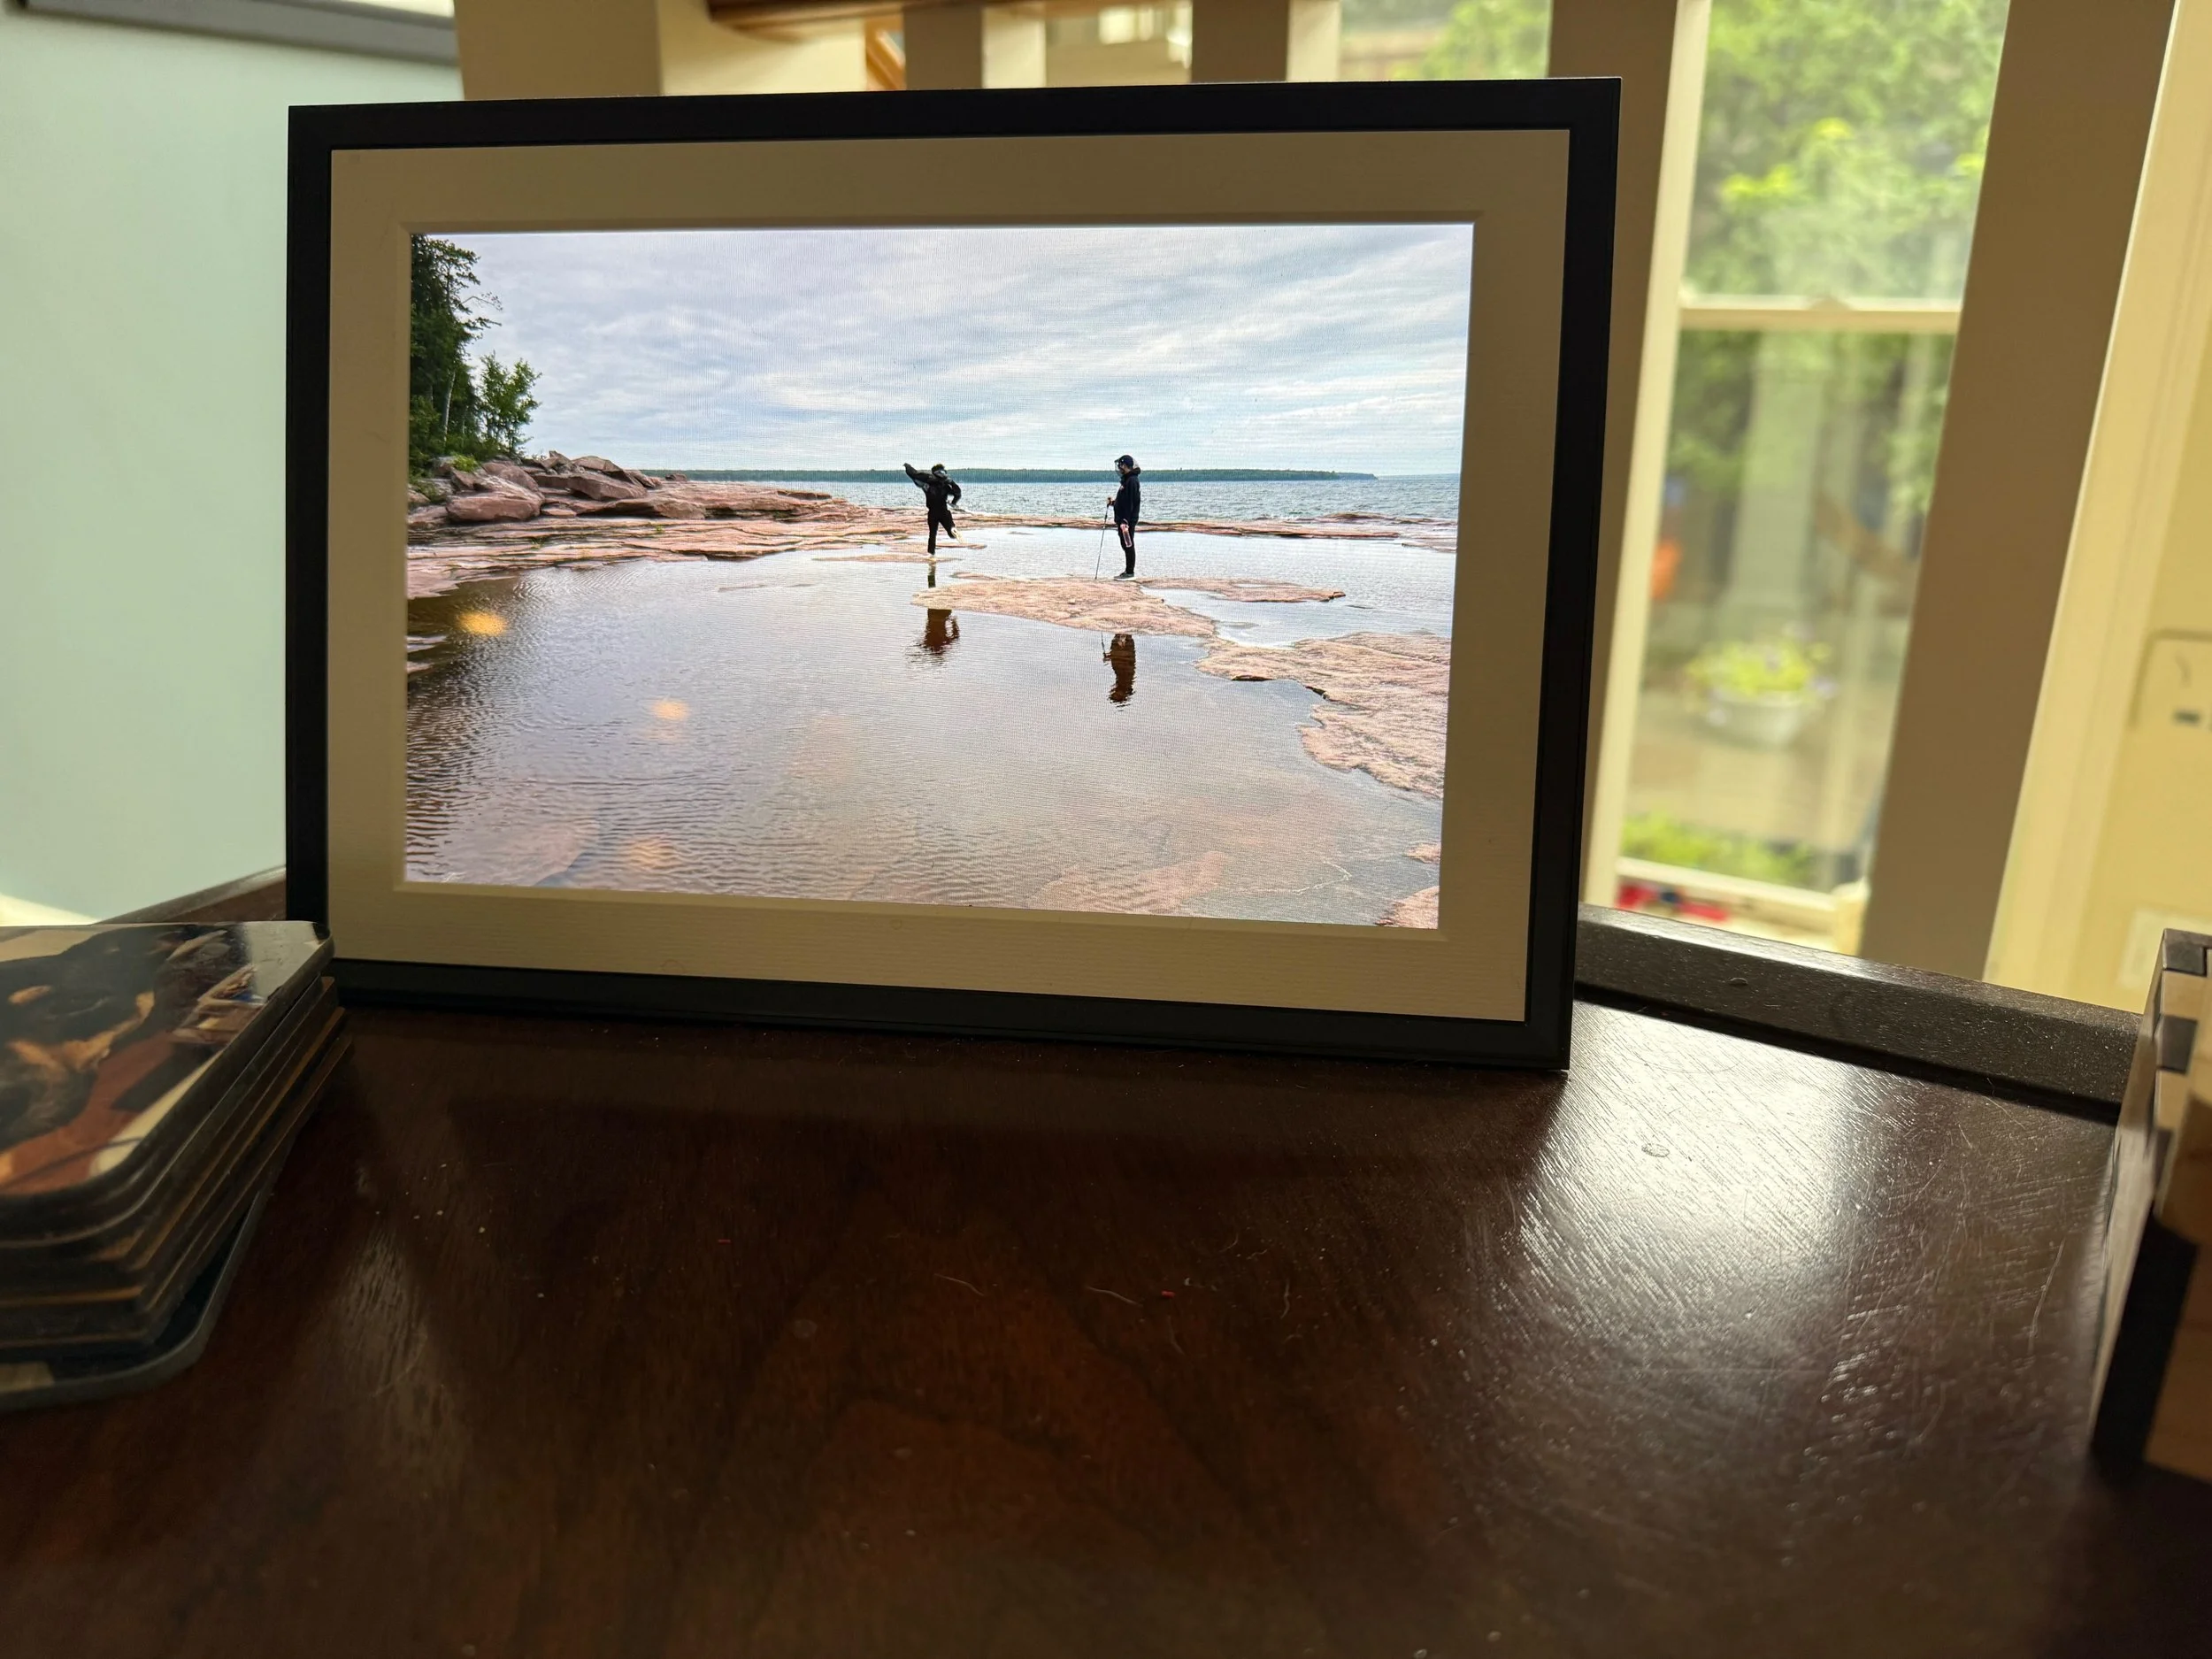
This is my 10” Aura frame. I have it set to rotate to a new photo every few hours.
I have my favorite photos from all of my travels displayed on my Aura Frame. I have it set to rotate every few hours and on shuffle so it’s always a surprise. I have this one in 10”. (affiliate link)
Pro Tip: you can set an album on your phone to automatically upload anything you put into that album onto your frame. This is helpful for photos you take on your phone. Because I often use my big camera, I upload those photos from my computer.
Print a Few Favorites
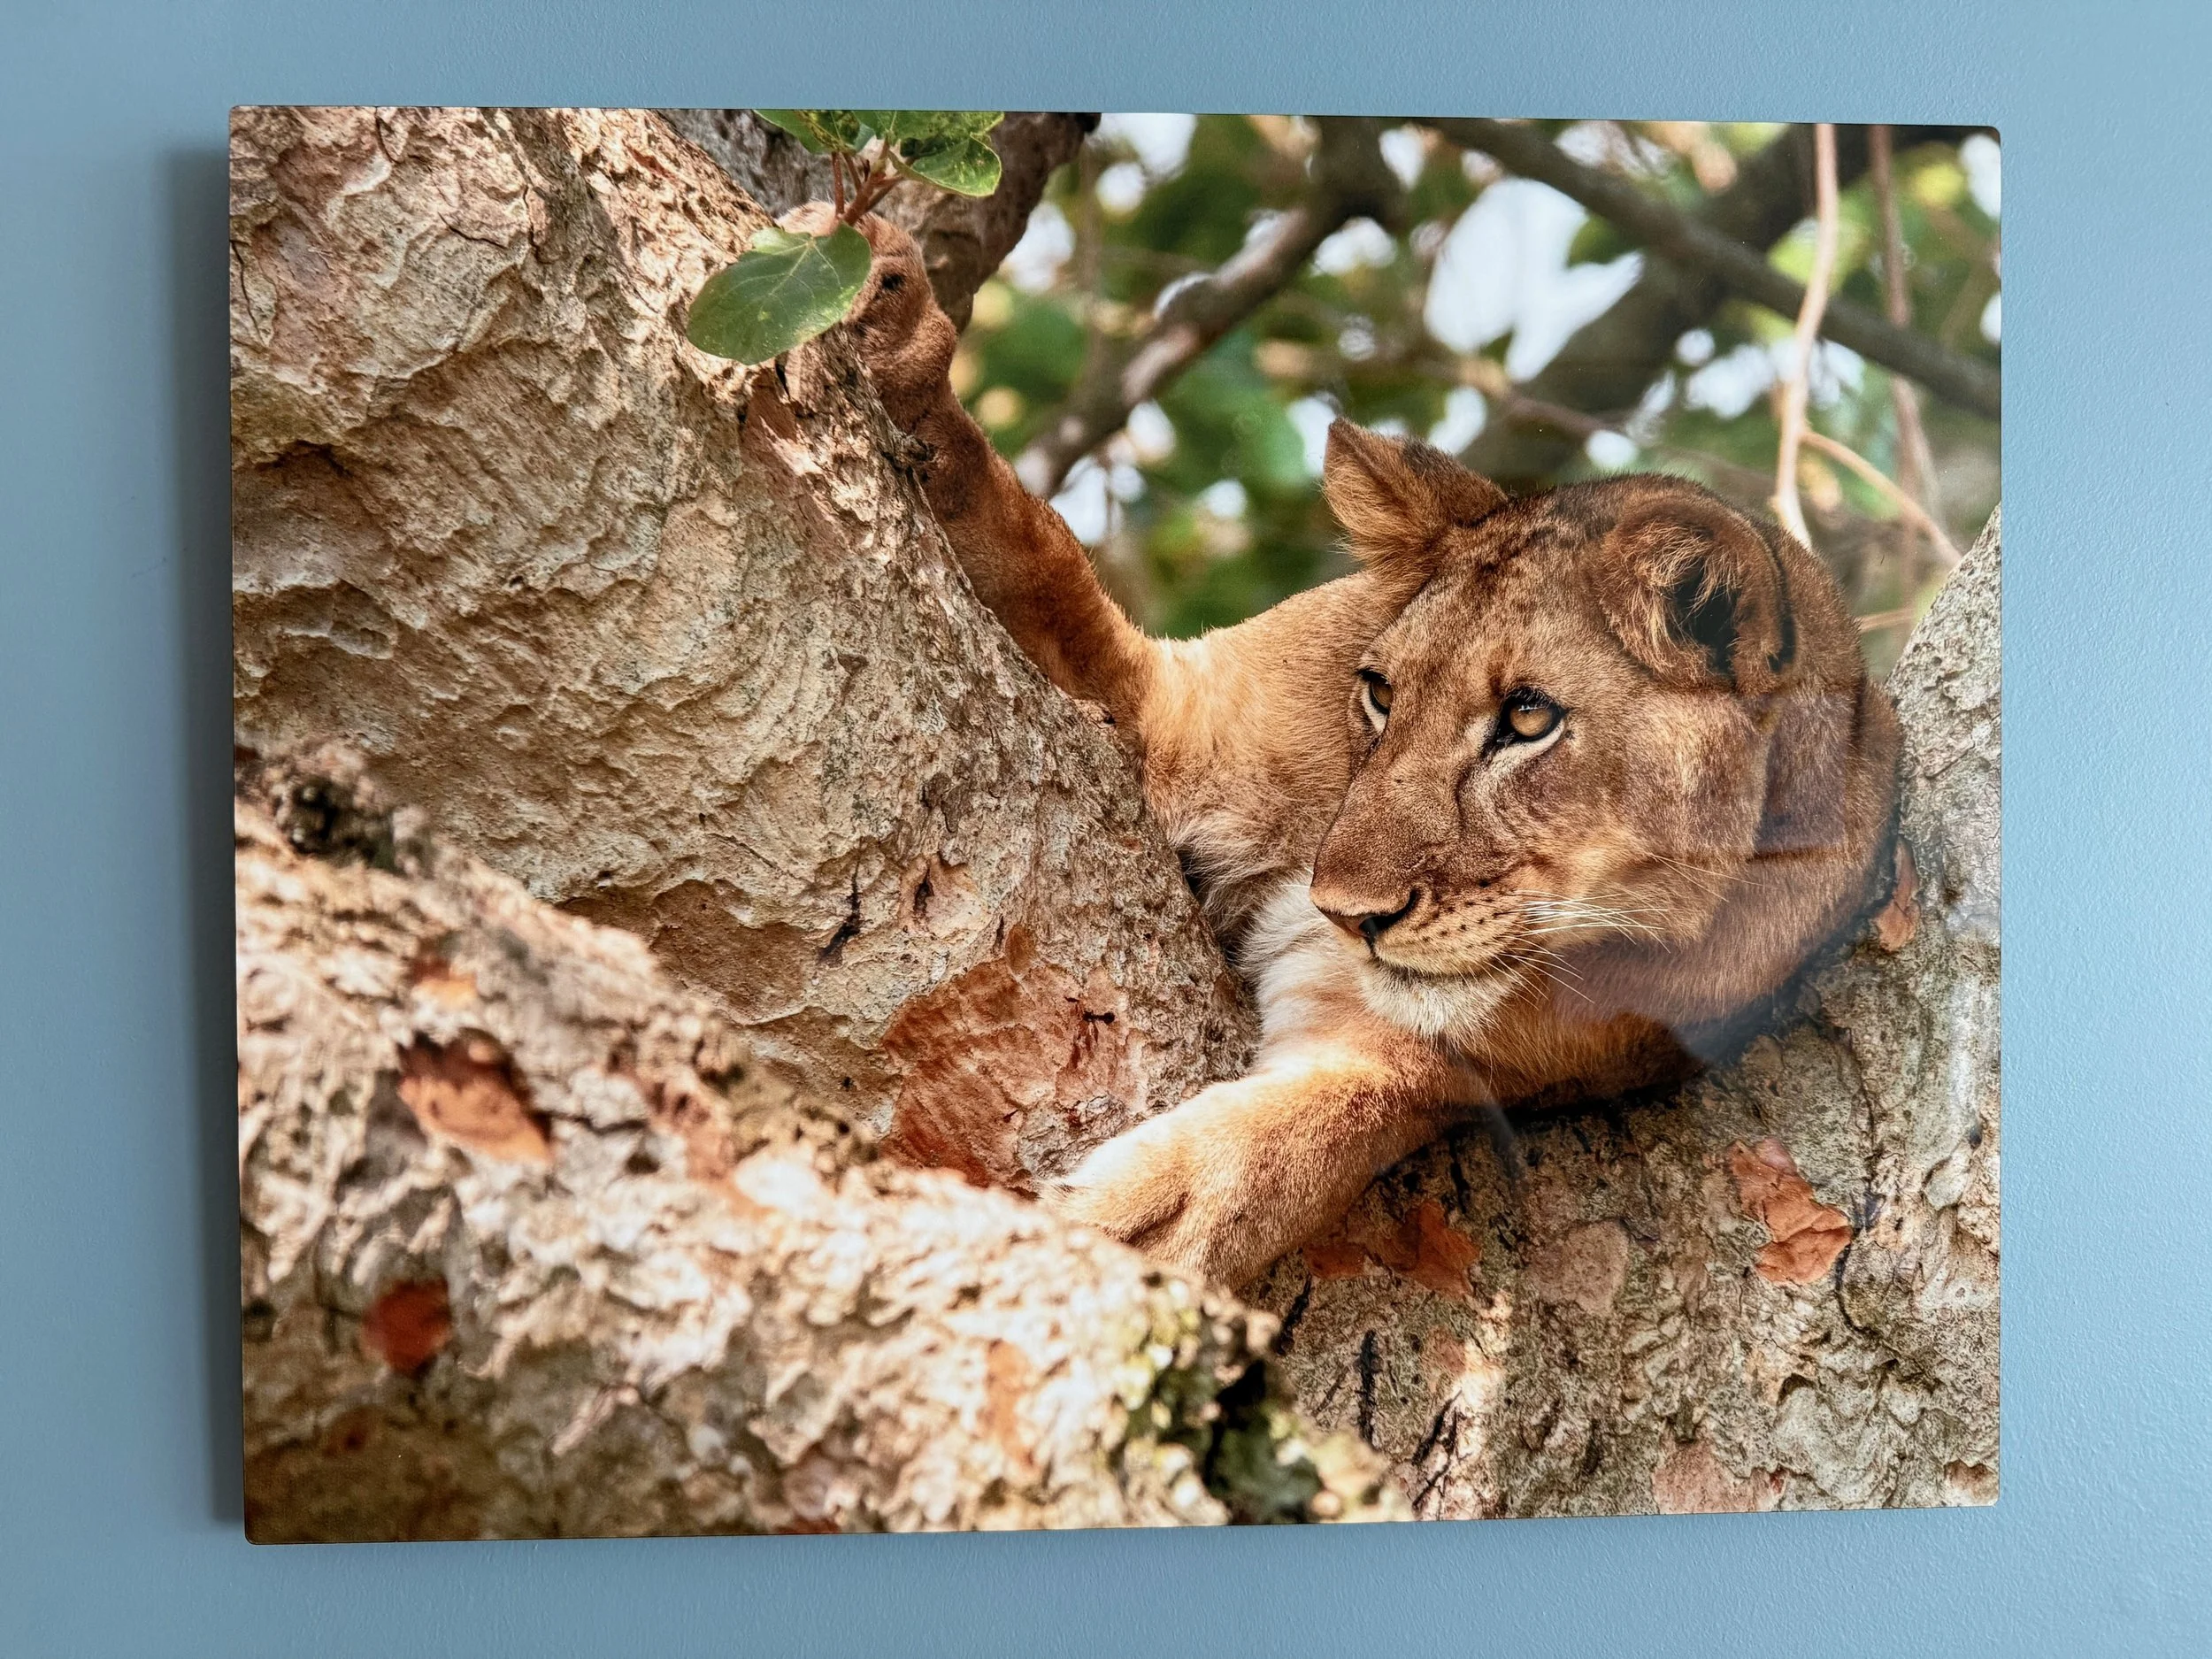
This metal print of a lion in a tree in Uganda lives on my wall.
I still print a few of my favorite photos and have them on display in my house. Most are 4×6 or 5×7 in simple frames. I’ve also made some composites for trips that I keep out. I printed a couple of my absolute favorite nature photos on large metal and have them hanging on my wall. You can now print in all sorts of media - everything from simple photo paper to canvas, metal, or glass.
This was my first time trying a metal print - they are fun with the right photos. I love it for nature photos, not sure if I’d like it for a family photo.
Create Photo Blankets, Pillows, and More
These days you can literally print photos on everything. Blankets, pillows, tote bags, socks, pot holders, aprons, t-shirts, literally everything. These make great gifts. I happen to love the blanket I created from our trip to Uganda. There’s nothing like snuggling up in the winter under gorillas and lions!